
Introduction : In this article we will
create Custom Activity in Workflow. The Custom Activity is default base activity
and handle common functionality like dragging and dropping of child elements,
deletion, selection, and addition. Custom activity in workflow is same concept
as custom control in .NET applications.
Types of Custom Activity :
- Custom activity that encapsulates a discrete task.
- Custom composite activity that groups a collection of lower-level activities into a higher-level activity.
- System.Workflow.ComponentModel.Activity.
- System.Workflow.ComponentModel.CompositeActivity.
- Designer.
- Validator.
- Executor.
- Toolbox.
- Select File->New-> Project.
- Select Sequential Workflow.
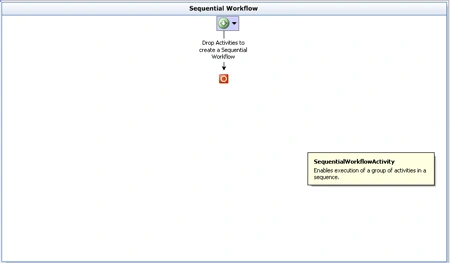
Step 2 : Go to Solution option and right-click.
- Select Add -> New Item.
- Select Workflow Activity Library.
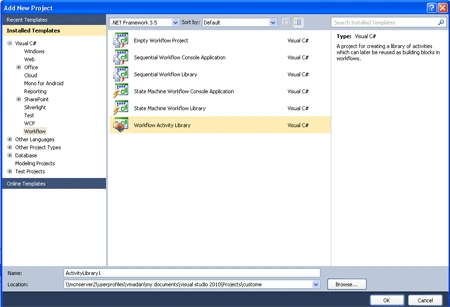
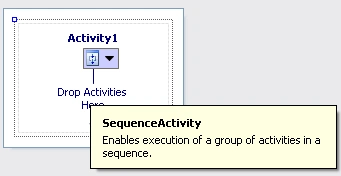
Step 3 : We set the Base Class of Custom Activity.
- Click Activity->Property window.
- Select Base Class.
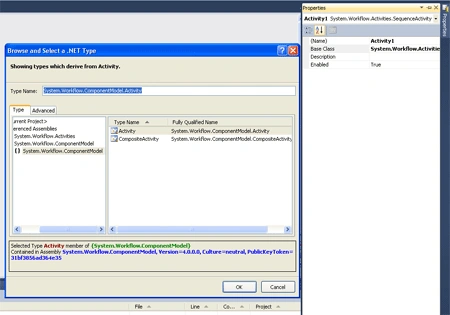
After you define the Base Class, Activity show look like this.
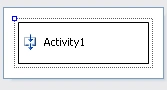
Step 4 : Go to Code view and write the below code.
- Activity->View Code.
- Write the below code.
Code :
using
System;
using
System.ComponentModel;
using
System.ComponentModel.Design;
using
System.Collections;
using
System.Linq;
using
System.Workflow.ComponentModel.Compiler;
using
System.Workflow.ComponentModel.Serialization;
using
System.Workflow.ComponentModel;
using
System.Workflow.ComponentModel.Design;
using
System.Workflow.Runtime;
using
System.Workflow.Activities;
using
System.Workflow.Activities.Rules;
namespace
ActivityLibrary1
{
public partial
class Activity1
: System.Workflow.ComponentModel.Activity
{
public Activity1()
{
InitializeComponent();
}
public static
DependencyProperty FilePathProperty =
System.Workflow.ComponentModel.DependencyProperty.Register("FilePath",
typeof(string),typeof(Activity1));
[Description("FilePath")]
[Category("Activity1")]
[Browsable(true)]|
[DefaultValueAttribute("False")]|
[DesignerSerializationVisibility(DesignerSerializationVisibility.Visible)]
public string
FilePath
{
get
{
return ((string)base.GetValue(Activity1.FilePathProperty));
}
set
{
base.SetValue(Activity1.FilePathProperty,
value)
}
}
}
}
Step 5 : Now we add the Activity
in Toolbox.
- Right-click in Toolbox.
- Select "Choose Item".
- Click on Browse tab.
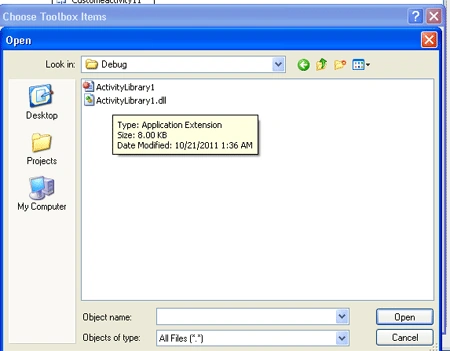
Step 7 : Now we can see in Toolbox the CustomActivity1 was created.
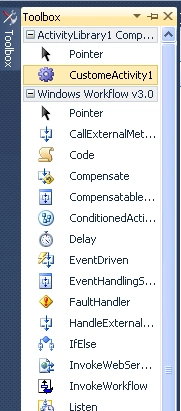
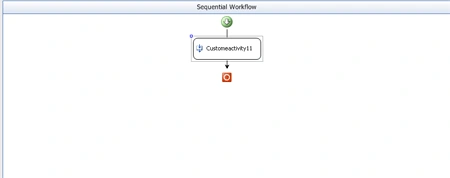
Step 8 : Go to Workflow1.cs Design option.
- We can easily Drag the CustomActivity1 below the SequentialWorkflow.
Join the conversation! Your thoughts help the community grow.