

Introduction
In this article, I am going to explain how to upload multiple images using angular 7 and Web API. I am also creating a demo project for better understanding. This article will help beginners who are getting started with Angular.
Prerequisites
- Angular 7
- Web API
- SQL Server
- HTML/Bootstrap
Steps required
- Create a database and 2 tables in SQL Server
- Create a Web API using ASP.NET Web API
- Create a new project in Angular 7
For this article, I have created a database and two tables. For creating the database, we follow the following steps.
Step 1
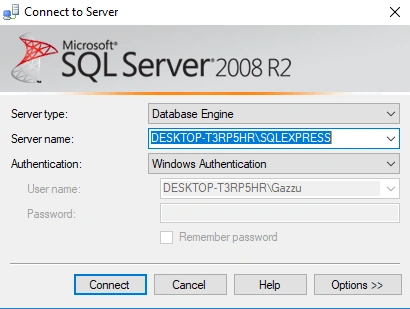
Let's open SSMS (SQL Server Management Studio).

Step 2
Connect to the SSMS.
Step 3
I have created the database using the following query.
- create database db_multipleimage
Step 4
I have created an Imagemaster table.
- CREATE TABLE [dbo].[imagemaster](
- [Id] [int] IDENTITY(1,1) NOT NULL,
- [ImageName] [varchar](50) NULL,
- [Remark] [varchar](50) NULL,
- CONSTRAINT [PK_imagemaster] PRIMARY KEY CLUSTERED
- (
- [Id] ASC
- )WITH (PAD_INDEX = OFF, STATISTICS_NORECOMPUTE = OFF, IGNORE_DUP_KEY = OFF, ALLOW_ROW_LOCKS = ON, ALLOW_PAGE_LOCKS = ON) ON [PRIMARY]
- ) ON [PRIMARY]
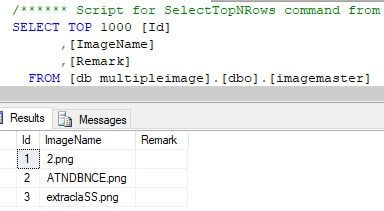
Now, the database looks like below.
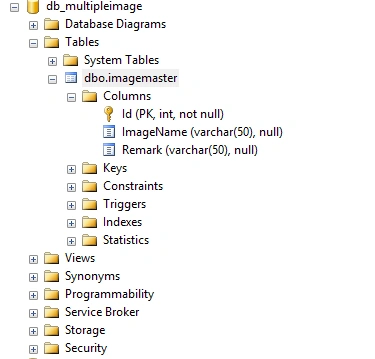
I have created a Web API using ASP.NET Web API. For creating the Web API, we need to follow the following steps.
Step 1
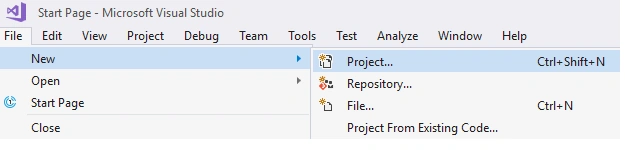
Open Visual Studio 2017 and go to File > New > Project.

Step 2
Select Web >> ASP.NET Web Application.

Step 3
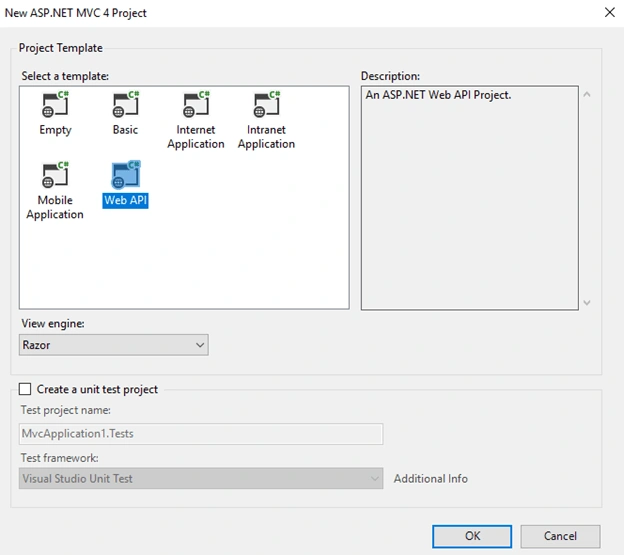
Then, select Web API and click OK.
Step 4
Now, create a new Controller named FileUploadController.
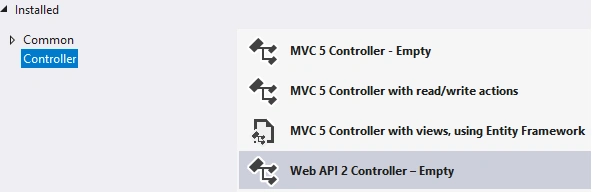
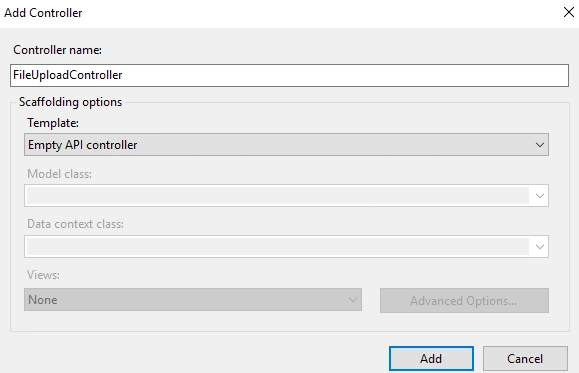
Step 5
Now, import the database using Entity Framework.
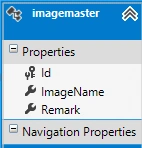
Step 6
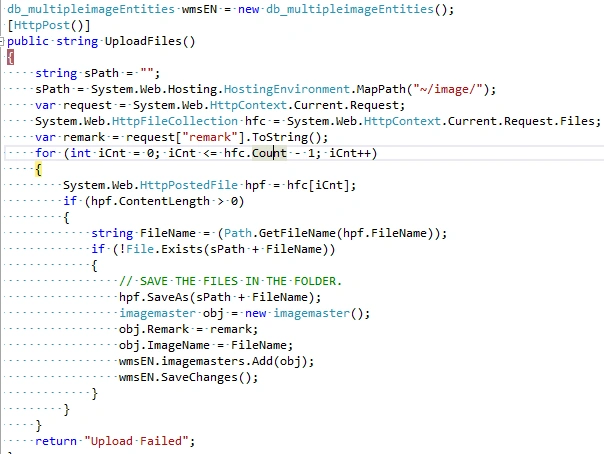
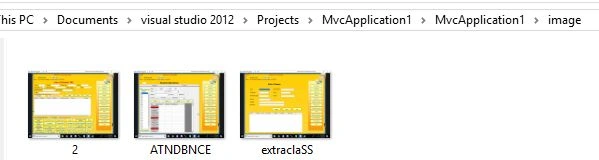
Now, create a method (UploadFiles) for inserting images in the table and save images in a folder in FileUploadController.
- [HttpPost()]
- public string UploadFiles()
- {
- string sPath = "";
- sPath = System.Web.Hosting.HostingEnvironment.MapPath("~/image/");
- var request = System.Web.HttpContext.Current.Request;
- System.Web.HttpFileCollection hfc = System.Web.HttpContext.Current.Request.Files;
- var remark = request["remark"].ToString();
- for (int iCnt = 0; iCnt <= hfc.Count - 1; iCnt++)
- {
- System.Web.HttpPostedFile hpf = hfc[iCnt];
- if (hpf.ContentLength > 0)
- {
- string FileName = (Path.GetFileName(hpf.FileName));
- if (!File.Exists(sPath + FileName))
- {
- // SAVE THE FILES IN THE FOLDER.
- hpf.SaveAs(sPath + FileName);
- imagemaster obj = new imagemaster();
- obj.Remark = remark;
- obj.ImageName = FileName;
- wmsEN.imagemasters.Add(obj);
- wmsEN.SaveChanges();
- }
- }
- }
- return "Upload Failed";
- }
Step 1
I have created a project using the following command in the Command Prompt.
- ng new fileupload
Step 2
Open project in Visual Studio Code using the following commands.
- cd fileupload
- code .
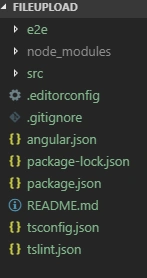
Step 3
Now, we need to install bootstrap in our project using the following command in the terminal.
- npm install --save bootstrap
Step 4
After installing bootstrap, we should import bootstrap in style.css.
- @import '~bootstrap/dist/css/bootstrap.min.css';
Step 5
I have declared methods to upload images using the following code in App.component.ts
- import { Component } from '@angular/core';
- import { HttpClient } from '@angular/common/http';
- @Component({
- selector: 'app-root',
- templateUrl: './app.component.html',
- styleUrls: ['./app.component.css']
- })
- export class AppComponent {
- title = 'fileupload';
- remark = '';
- constructor(private httpService: HttpClient) { }
- myFiles: string[] = [];
- sMsg: string = '';
- StudentIdUpdate: string;
- ngOnInit() {}
- getFileDetails(e) {
- //console.log (e.target.files);
- for (var i = 0; i < e.target.files.length; i++) {
- this.myFiles.push(e.target.files[i]);
- }
- }
- uploadFiles() {
- const frmData = new FormData();
- for (var i = 0; i < this.myFiles.length; i++) {
- frmData.append("fileUpload", this.myFiles[i]);
- if (i == 0) {
- frmData.append("remark", this.remark);
- }
- }
- this.httpService.post('http://localhost:50401/api/FileUpload/UploadFiles', frmData).subscribe(
- data => {
- // SHOW A MESSAGE RECEIVED FROM THE WEB API.
- this.sMsg = data as string;
- console.log(this.sMsg);
- }
- );
- }
- }
Step 6
Put this code in app.component.html
- <!--The content below is only a placeholder and can be replaced.-->
- <div style="text-align:center">
- <h1>
- Welcome to {{ title }}!
- </h1>
- <img width="300" alt="Angular Logo" src="data:image/svg+xml;base64,PHN2ZyB4bWxucz0iaHR0cDovL3d3dy53My5vcmcvMjAwMC9zdmciIHZpZXdCb3g9IjAgMCAyNTAgMjUwIj4KICAgIDxwYXRoIGZpbGw9IiNERDAwMzEiIGQ9Ik0xMjUgMzBMMzEuOSA2My4ybDE0LjIgMTIzLjFMMTI1IDIzMGw3OC45LTQzLjcgMTQuMi0xMjMuMXoiIC8+CiAgICA8cGF0aCBmaWxsPSIjQzMwMDJGIiBkPSJNMTI1IDMwdjIyLjItLjFWMjMwbDc4LjktNDMuNyAxNC4yLTEyMy4xTDEyNSAzMHoiIC8+CiAgICA8cGF0aCAgZmlsbD0iI0ZGRkZGRiIgZD0iTTEyNSA1Mi4xTDY2LjggMTgyLjZoMjEuN2wxMS43LTI5LjJoNDkuNGwxMS43IDI5LjJIMTgzTDEyNSA1Mi4xem0xNyA4My4zaC0zNGwxNy00MC45IDE3IDQwLjl6IiAvPgogIDwvc3ZnPg==">
- </div>
- <div class="col-sm-5">
- <ng-container>
- <input type="file" id="file" multiple (change)="getFileDetails($event)">
- <input type="text" [(ngModel)]="remark">
- <button class="btn btn-primary" (click)="uploadFiles()">Upload</button>
- </ng-container>
- </div>
- ng serve
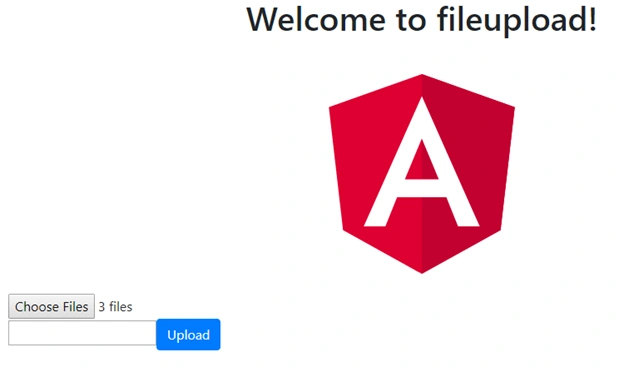
Summary
In this article, I have discussed how to upload multiple images in a Web API using Angular 7. In my next article, I am going to discuss how to upload a video using Angular 7 in a Web API.
Puneet KankarPosted Jul 3, 2019, 12:38 PM
Nice article, I have one question how to upload files with model data with a reactive form.
Dev9 OpinePosted Jul 1, 2019, 3:56 AM
How to call API? can we direct call uploadFiles() without any declaration for that function.
Amit MohantyPosted Jun 30, 2019, 11:31 PM
Nice article...
Khaja MoizuddinPosted Jun 30, 2019, 1:31 PM
Great job Gajendra.