

Introduction
- Raspberry Pi 3
- Minimum 8GB SD Cord if you're using Raspberry Pi 3
- Ethernet or Wifi
- Putty
- VNC Viewer
Optional
- USB Keyboard
- USB Mouse
Installation
In this article, I have made use of the standard operating system for the Raspberry Pi, known as Raspbian. If you haven't got this installed, then you can follow my article "Traffic Light System Using Raspberry Pi 3 and Raspbian Installation Process" at this Link.
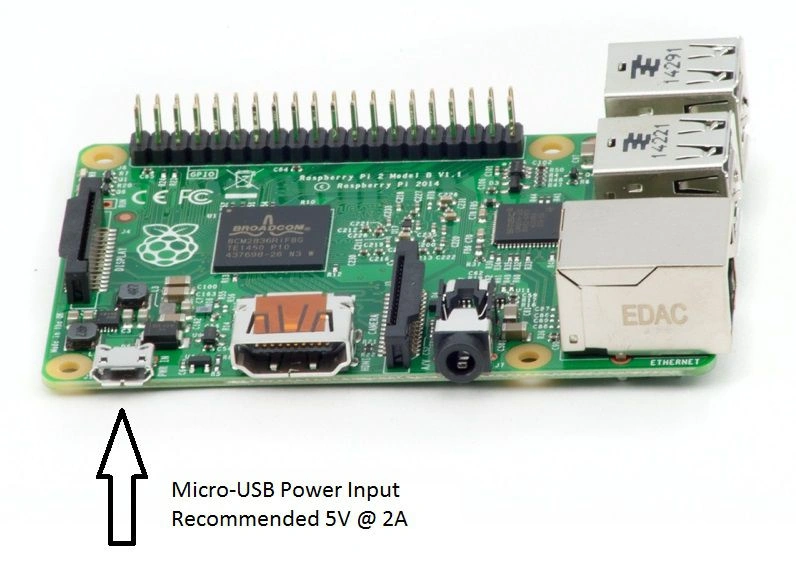
How do I power my Raspberry Pi?
The latest Raspberry Pi Support 5Volt @ 2Ampere as a minimum input value. Arduino can accept the range of inputs (5-12 V) 1250 mA.
Set up Wifi on Raspberry Pi.
Step 1
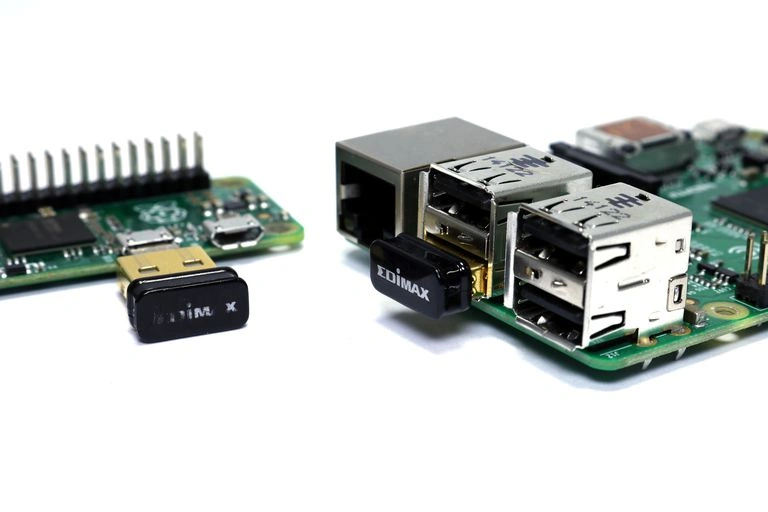
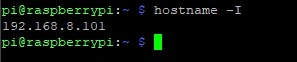
First, the Raspberry Pi must be connected to your desktop. Then, connect your wi-fi on your Pi or connect your ethernet. After that, open the terminal of your Operating System using the following code.
- hostname -I
Step 2
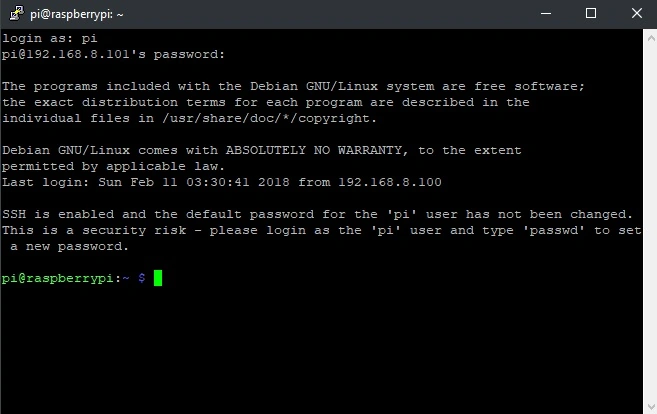
Next, open PuTTY software and paste the Host Name (or IP Address) on this PuTTY.
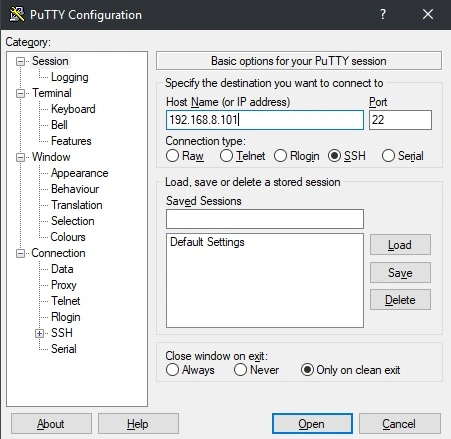
After that, open the terminal box and enter your default PI name and password.
- Username (pi)
- Password (raspberry)
The connection is successful.
Step 3
Next, update the Raspberry Pi. So, install the latest packages. You can do that using the following commands.
or
- sudo apt-get update
- sudo apt-get upgrade
- sudo apt-get update && upgrade
Step 4
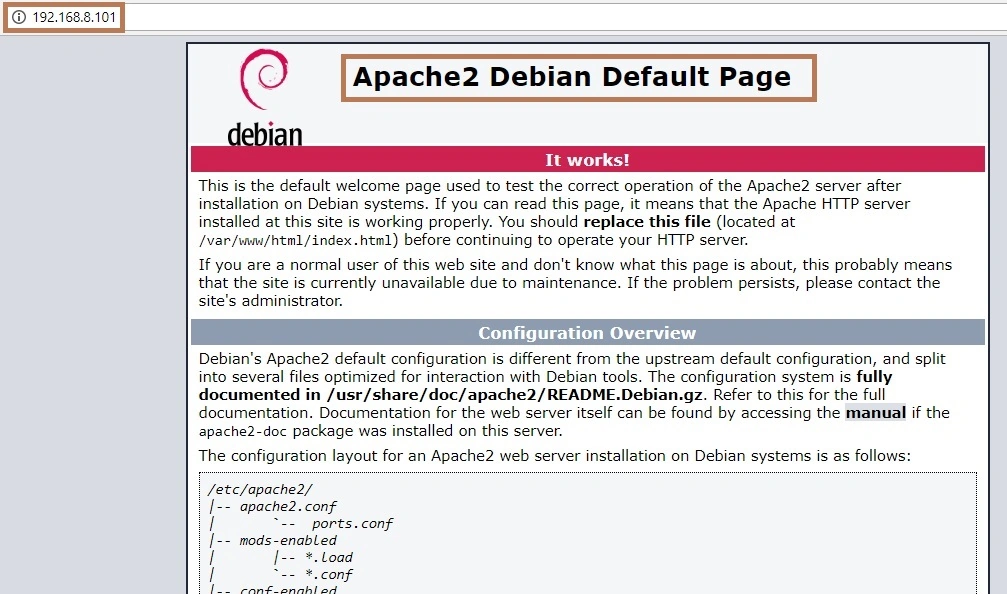
Next, we will need to install the Apache web server. Just use the following commands.
- sudo apt-get install apache2 -y
- hostname -I
Open Browser, Enter IP address in the browser, and you should get an Apache instruction page.
 Step 6
Now, we are going to edit this simple page entering the following command.
- sudo nano /var/www/html/index.html
After that, open index.html editing page. Just replace the following HTML codes. You can add new web pages as you want, in the www folder and view from the browser.
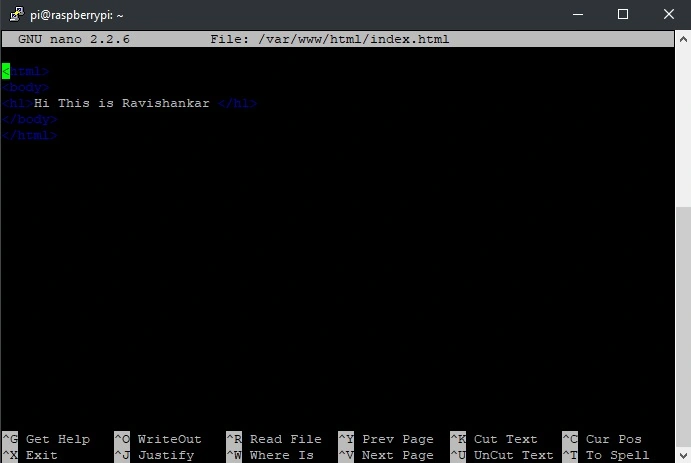
- <html>
- <body>
- <h1>Hi This is Ravishankar</h1>
- </body>
- </html>
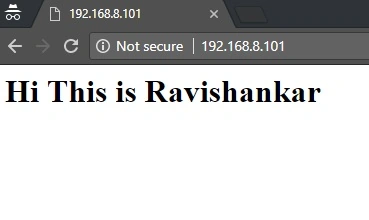
This is a basic server but if you are using PHP for the dynamic website, then read on. To install the PHP package, let's download PHP5 module for Apache.
- sudo apt-get install php5 libapache2-mod-php5 -y
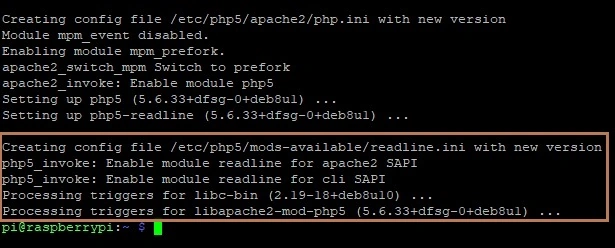
Now, create a new file and edit this example page entering the following command. After that, open and edit the file. In this file, add the following PHP code.
- sudo nano /var/www/html/example.php
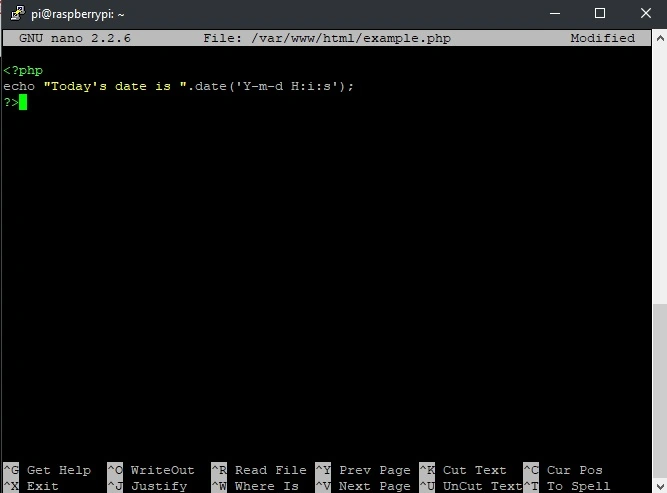
PHP Code
- <?php
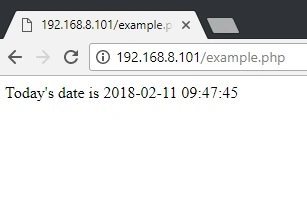
- echo "Today's date is ".date('Y-m-d H:i:s');
- ?>
Hadshana KamalanathanPosted Jul 21, 2018, 10:17 AM
Nice one...
Vidyadharran GPosted Feb 15, 2018, 12:29 AM
Ravi ...nice and neat explained...keep it up
Sagar Pandurang KapPosted Feb 13, 2018, 11:02 PM
NIceee article......
Nigel FernandesPosted Feb 13, 2018, 5:34 PM
Nice article , theres a spelling mistake at 8GB SD Cord , should be card