

Introduction

This article demonstrates how to add Meter Number Picker Library on Android Application using Android studio. The Android library provides a customizable NumberPicker styled as a meter.
Step 1
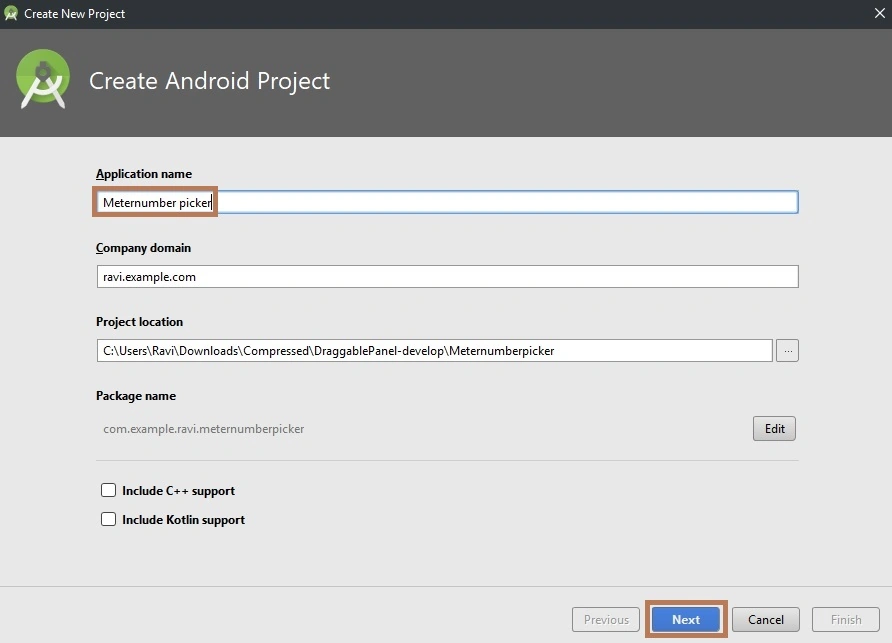
Create a new project in Android Studio from File >> Project and fill in all the necessary details.
Next, go to Gradle Scripts >> build.gradle (Module: app).Select build.gradle, The app gradle compiles the code, and then build types will appear. Just replace that with the following code. To make a Meter Number Picker in your layout in XML, add the Meter Number library in your project or you can also use Gradle.
Usage
Make sure you've added maven central to the list.
- allprojects {
- repositories {
- google()
- jcenter()
- mavenCentral()
- }
- }
- implementation 'com.alex-zaitsev:meternumberpicker:1.0.2'
Step 2
Next, go to app >> res >> values >>style.xml.
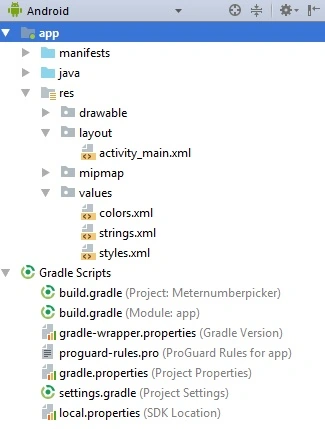
Select the style page. The XML code will appear. Create black and red color themes.
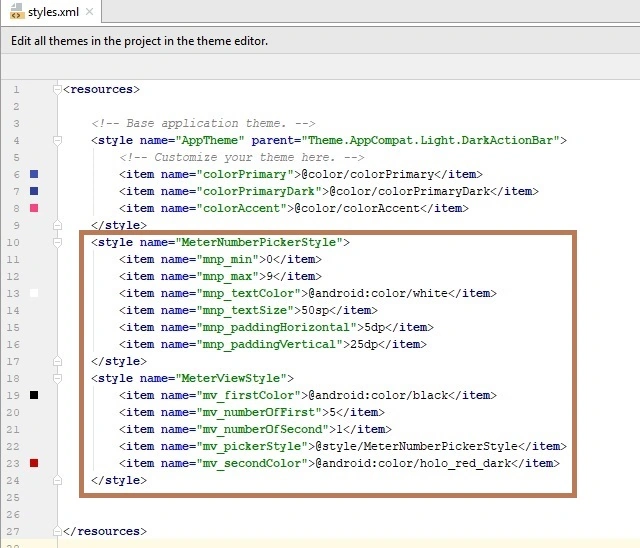
Style Code
First, create the style for your meter number picker, then create a style for your meter view.
- <resources>
- <!-- Base application theme. -->
- <style name="AppTheme" parent="Theme.AppCompat.Light.DarkActionBar">
- <!-- Customize your theme here. -->
- <item name="colorPrimary">@color/colorPrimary</item>
- <item name="colorPrimaryDark">@color/colorPrimaryDark</item>
- <item name="colorAccent">@color/colorAccent</item>
- </style>
- <style name="MeterNumberPickerStyle">
- <item name="mnp_min">0</item>
- <item name="mnp_max">9</item>
- <item name="mnp_textColor">@android:color/white</item>
- <item name="mnp_textSize">50sp</item>
- <item name="mnp_paddingHorizontal">5dp</item>
- <item name="mnp_paddingVertical">25dp</item>
- </style>
- <style name="MeterViewStyle">
- <item name="mv_firstColor">@android:color/black</item>
- <item name="mv_numberOfFirst">5</item>
- <item name="mv_numberOfSecond">1</item>
- <item name="mv_pickerStyle">@style/MeterNumberPickerStyle</item>
- <item name="mv_secondColor">@android:color/holo_red_dark</item>
- </style>
- </resources>
Step 3
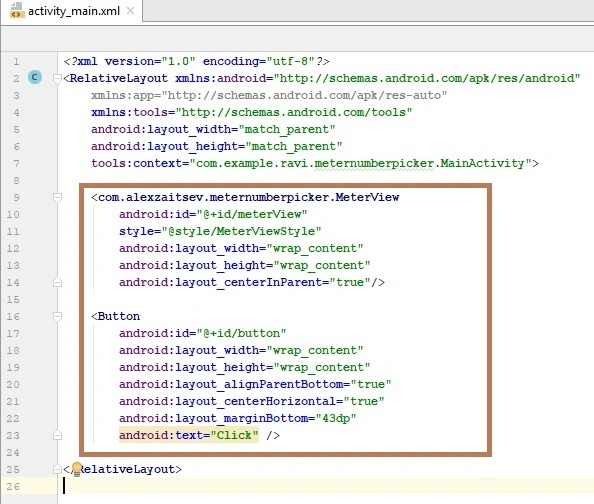
Next, go to app >> res >> layout >>activity_main.xml. Select the activity page. The XML code will appear. Create the layout of the Meter View and Button.
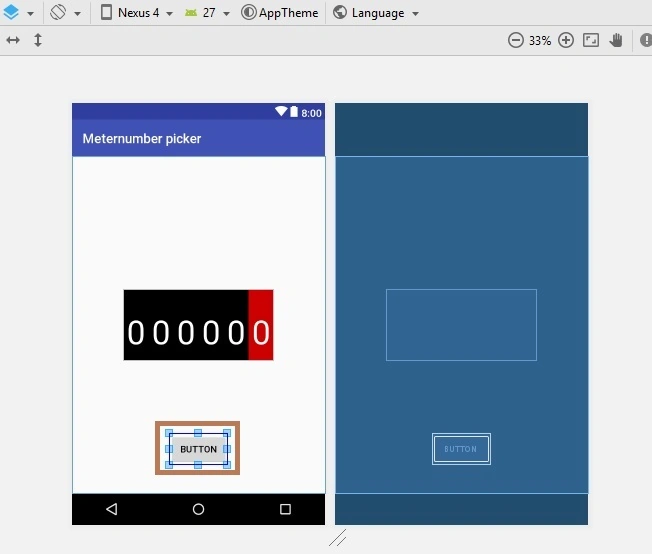
Design View
Meter Number Picker and Button View.
Step 4
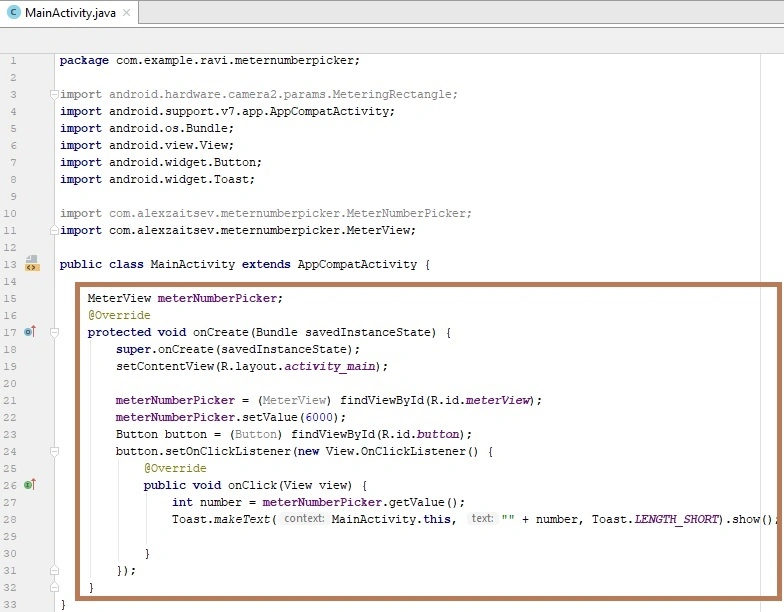
Next, go to app >> java >> package name. Select MainActivity.java. The Java code will appear.
This toast message is everything you need for most toast notifications.
- Toast.makeText(MainActivity.this, "" + number, Toast.LENGTH_SHORT).show();
MainActivity Code
- package com.example.ravi.meternumberpicker;
- import android.hardware.camera2.params.MeteringRectangle;
- import android.support.v7.app.AppCompatActivity;
- import android.os.Bundle;
- import android.view.View;
- import android.widget.Button;
- import android.widget.Toast;
- import com.alexzaitsev.meternumberpicker.MeterNumberPicker;
- import com.alexzaitsev.meternumberpicker.MeterView;
- public class MainActivity extends AppCompatActivity {
- MeterView meterNumberPicker;
- @Override
- protected void onCreate(Bundle savedInstanceState) {
- super.onCreate(savedInstanceState);
- setContentView(R.layout.activity_main);
- meterNumberPicker = (MeterView) findViewById(R.id.meterView);
- meterNumberPicker.setValue(6000);
- Button button = (Button) findViewById(R.id.button);
- button.setOnClickListener(new View.OnClickListener() {
- @Override
- public void onClick(View view) {
- int number = meterNumberPicker.getValue();
- Toast.makeText(MainActivity.this, "" + number, Toast.LENGTH_SHORT).show();
- }
- });
- }
- }
Step 5
Next, go to Android Studio and deploy the application. Select Emulator or your Android Device with USB debugging enabled. Give it a few seconds to make installations and set permissions
Run the application in your desired emulator (Shift + F10).
Summary
Finally, we have successfully created the Meter Number Picker Application. Later we will discuss more Android applications.
aquib khanPosted May 6, 2018, 3:35 AM
Can you please tell me how to show selected no in edit text