

API & React in a Single Solution
Hi Coders. Today I am going to share a new solution for a problem which is to host API and client apps on a single solution. Many times we need to host two applications on the IIS for small-scale apps. I would recommend a separate solution for both if you are sharing your API with some other applications.
Requirements: VS Code, IIS
Step 1
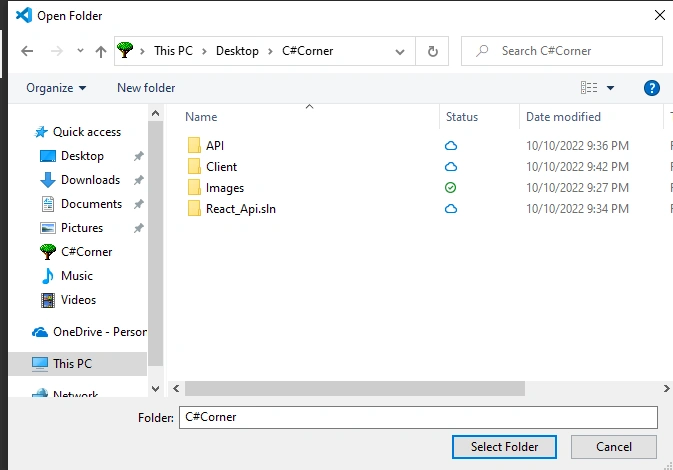
Create the folder architecture for the application.

Step 2
Open folder location in VS code and open Terminal

dotnet new sln -o React_Api.slnStep 3
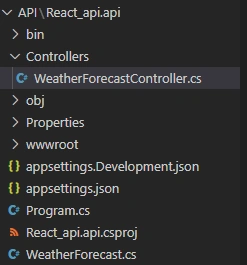
Create a WEB API inside the API folder using VS code terminal.

dotnet new webapi -o React_api.apiThis script creates a default API architecture which is created by Microsoft. We will consume this API in our client app.
Step 4
Add API to the solution

dotnet sln React_Api.sln add .\Api\React_api.api\React_api.api.csprojStep 5
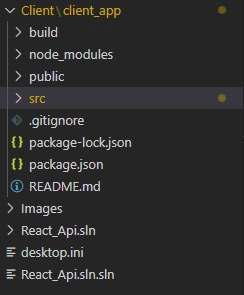
Create a new client React app

npx create-react-app client_appThis script creates a default react app architecture.
Step 7
Fetch API data into client_app inside App.js
import { useEffect, useState } from 'react';
const App = () => {
  const [final,setFinal]=useState([]);
  useEffect(()=>{
    fetch('http://192.168.1.45:8083/WeatherForecast').then((resp) => resp.json()).then((data)=>{setFinal(data)});
  },[])
  return(
    <>
    <ul>
      {final.map((data,index)=>{
        console.log(data)
        return <li key={data.summary}>{data.summary}({data.temperatureC})</li>
      })}
    </ul>
    </>
  );
}
export default App;
Step 8
Add startup file location into API inside the program.cs
var builder = WebApplication.CreateBuilder(args);
// Add services to the container.
builder.Services.AddControllers();
// Learn more about configuring Swagger/OpenAPI at https://aka.ms/aspnetcore/swashbuckle
builder.Services.AddEndpointsApiExplorer();
builder.Services.AddSwaggerGen();
var app = builder.Build();
// Configure the HTTP request pipeline.
if (app.Environment.IsDevelopment()) {
    app.UseSwagger();
    app.UseSwaggerUI();
}
app.UseHttpsRedirection();
app.UseCors(builder => {
    builder.AllowAnyOrigin().AllowAnyMethod().AllowAnyHeader();
});
app.UseAuthorization();
app.UseStaticFiles();
app.MapControllers();
app.MapFallbackToFile("index.html");
app.Run();
Step 9
The next step is to publish client_app inside API wwwroot folder.

npm run build ../../Api/React_Api.Api/wwwroot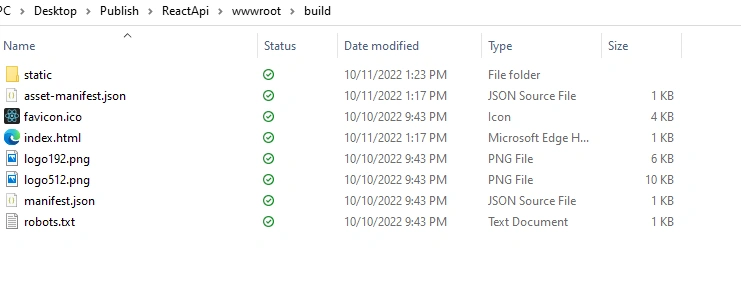
Step 10
Finally, publish the API

dotnet publish --configuration ReleaseThis is the final architecture of the published file
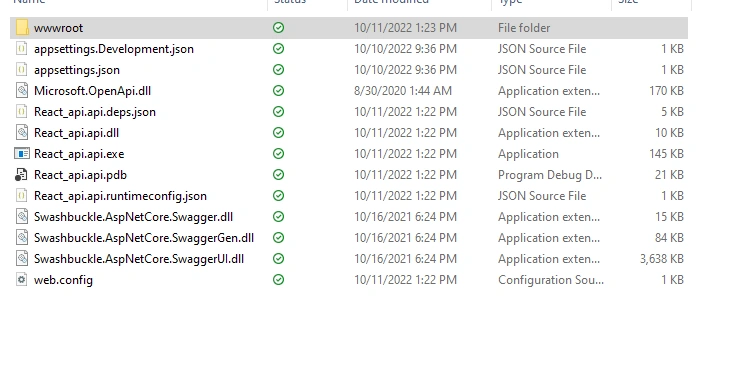
Step 11
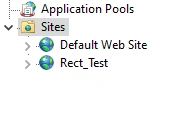
Now host the application over IIS and set the physical path to the Published folder.
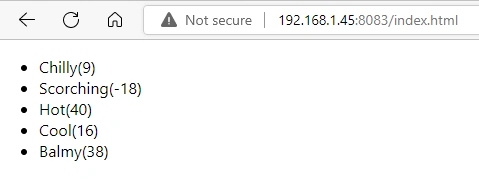
Now we can run this app over a web browser
Summary
This is one way to create and host small-scale apps in a single solution. This procedure is not bound to react only. We can apply this to Angular as well.
Now code and run. Your single solution Api is ready. Happy Coding.
Join the conversation! Your thoughts help the community grow.