Introduction
From this article, we will start with the Xamarin Android App Development Series. In this, we will learn how to setup Xamarin in Visual Studio.
As you know, Xamarin (http://xamarin.com/) is a cross-platform app development platform that enables you to create Android and iOS native apps using C# as a backend language.
Prerequisites
You need a good broadband connection before you start.
Note: Do them all, install all of them. And make sure your first install is the JDK and then the GTK for Windows. And the SDK and NDK are in Zip files so extract them in the same folder.
Procedures
Step 1
After installation and extraction, move to the folder where you have your Android NDK and SDK. Suppose I have the SDK and NDK in my C:\ drive.
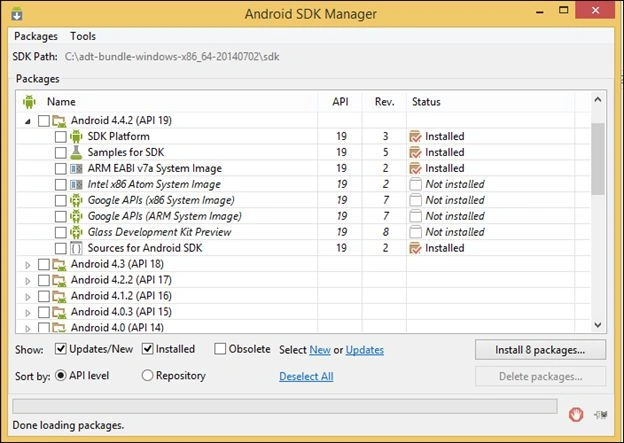
Note: If you want to update your Android SDK, then you are free to do so. Go to adt-bundle-windows-xxxx > SDK Manager.exe.
Just select your desired API and install that package. It's not mandatory, but if you experience any problem regarding the API or the API is not supported, then you need to.
Step 2
After installing the Visual Studio Xamarine Plugin, you have modified your Visual Studio to something like this:
Before creating your first project, please follow Step 3.
Step 3
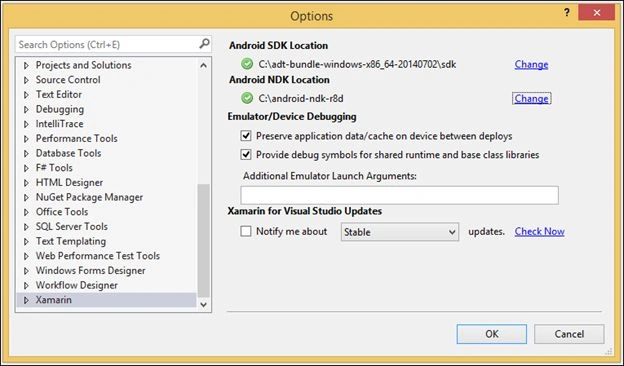
Navigate to Tools > Options and you will get an Options Window.
And the Options Windows is as in the following:
Now, you need to browse to the SDK and NDK folders in the Android SDK Location and Android NDK Location.
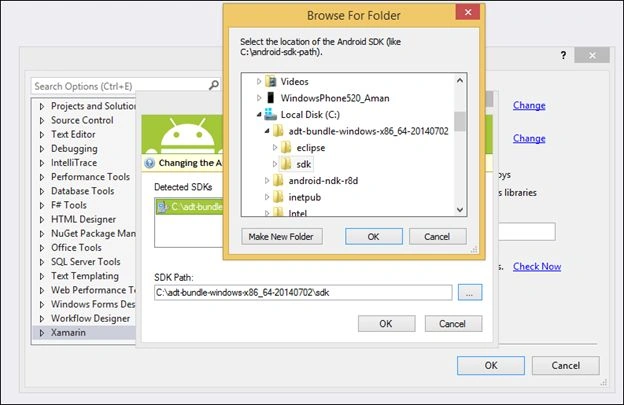
When you click on Change it will pop up a Browse For Folder as in the following:
That's why, I have suggested you put the SDK and NDK in same folder or a drive. After setting both of them, click on OK.
Step 4
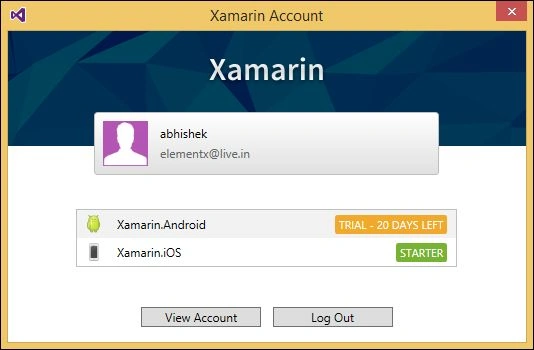
We will now activate our Xamarine Trial account.
Tools > Xamarin Account
Register your free account and then, Login for 30 free days.
Step 5
We are now ready to start our App devolvement.
Go to "File" -> "New" -> "Project...".
Provide a name then start to develop.
Step 6
It's time to create an Android Emulator, just like your Windows Phone Emulator.
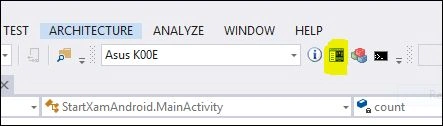
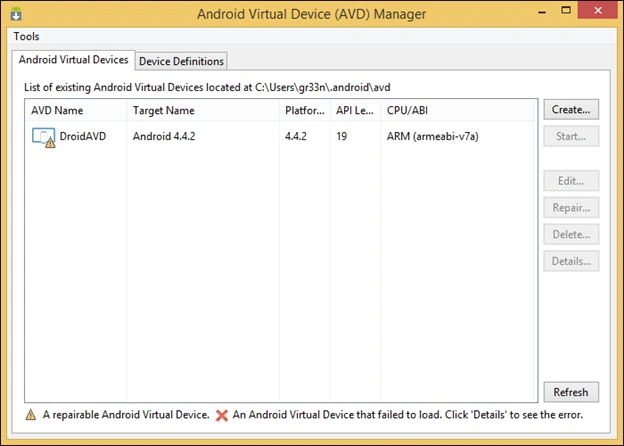
Click on the button highlighted in Yellow and you will get something like this:
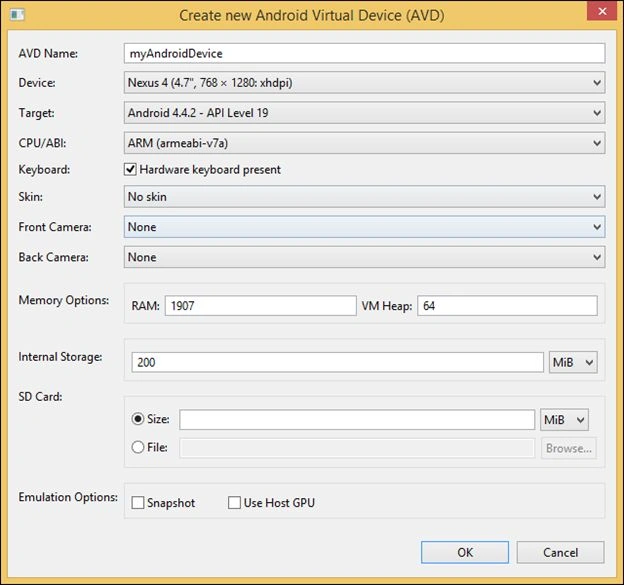
And click on Create to create a new device.
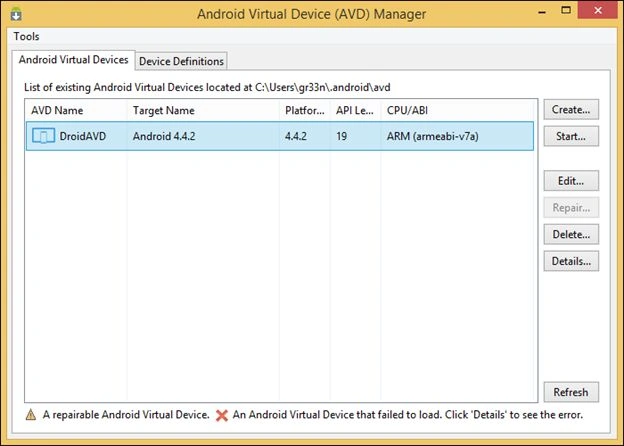
And, okay then you have your device named here. To start your Emulator click on the Start button that is on the right pane.
Note: I recommend you use an Android device rather than an emulator since it is very slow and unresponsive when you work with it since it is less compatible with Visual Studio than Eclipse. (I say that from my personal experience.)
Execution
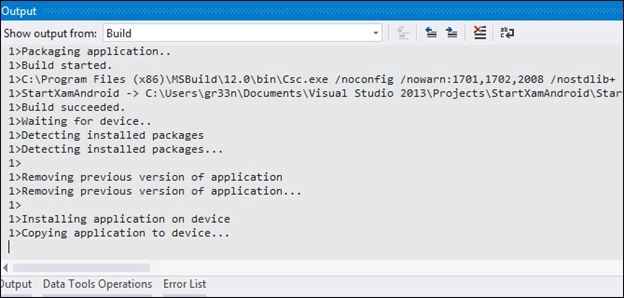
And if everything goes well then you may have this:
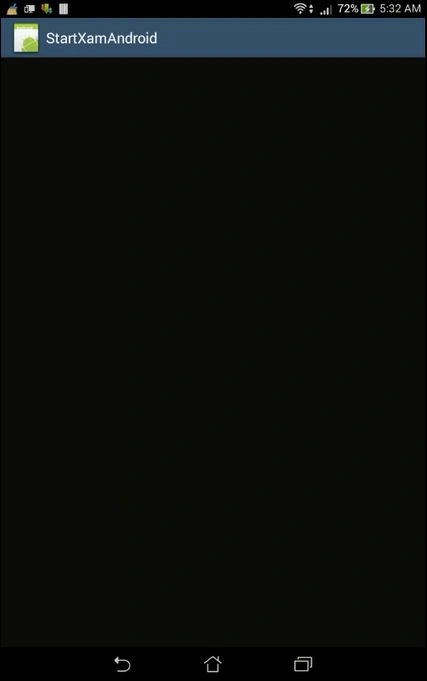
And the Android window is like:
Troubleshoot
- While executing if you encounter an error, something like a missing zipalign.exe, then you need to copy the zipalign.exe from:
<Your PATH>:\adt-bundle-windows-x86_64-20140702\sdk\build-tools\19.1.0
and paste it to:
<YOUR PATH>:\adt-bundle-windows-x86_64-20140702\sdk\tools
- If you encounter any error regarding any API level, then update your SDK with that API using SDK Manager.exe. These errors happen when you connect your real Android device.
Conclusion
It is a bit tedious to set up the Xamrin tools and add-ons in the right side. You are always prone to new errors. Use forums.xamarin.com or stackoverflow.com to correct it. Or, I can help you.







sanjay chPosted Jun 18, 2016, 10:16 AM
Nice Article. @Abhishek Kumar Ravi. I have create Native Xamarin Project, But I am unable to connect sqlite connection. can you please help on this? http://stackoverflow.com/questions/37897410/unable-to-install-sqlite-net-platform-xamarinandroid
santosh kumarPosted Jan 5, 2015, 1:26 AM
Dear Friends,i have created the android aap using c#, i run it on my lapy its working f9 but when i m traing to install it my mobile device then getting error. "Application is not install"
Saravanakumar SekaranPosted Nov 20, 2014, 2:11 AM
nice article
Gursewak SinghPosted Aug 27, 2014, 8:06 AM
Nice Article. When i create new AVD, under CPU/ABI nothing get selected. The message display "No system images installed for this target".
Raj KumarPosted Aug 26, 2014, 11:57 PM
Nice
Guest UserPosted Aug 26, 2014, 11:23 PM
good one
Anoop Kumar SharmaPosted Aug 26, 2014, 10:53 PM
Well Explained..