Objective:
This article is targeted to very new WCF developer. This will explain different Hosting options.
Hosting of WCF Service
-
WCF service cannot exist in Void.
-
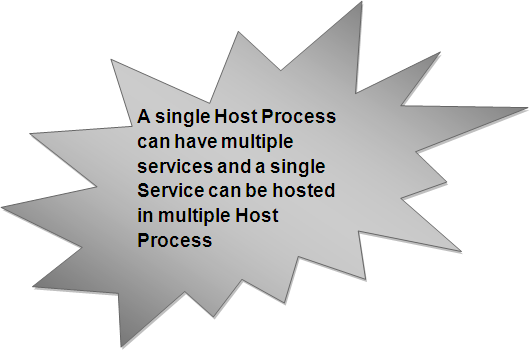
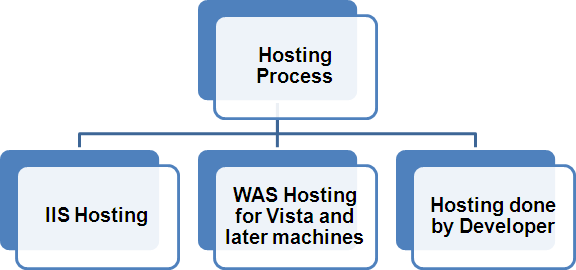
Every WCF service must be hosted in a Windows process called the
Host process.
Service Explanation
We are going to use WCF service listed below for all type of Hosting.. (This article is not subjected to explain, how to create a WCF service, so I am assuming that, you know how to create WCF service else read my other articles)
Contract is as follows,
using System;
using System.Collections.Generic;
using System.Linq;
using System.Runtime.Serialization;
using System.ServiceModel;
using System.Text;
namespace HotsingSamples
{
[ServiceContract]
public interface IService1
{
[OperationContract]
int AddofTowNumbers(int value1, int value2);
}
}
Service implantation is as follows,
using System;
using System.Collections.Generic;
using System.Linq;
using System.Runtime.Serialization;
using System.ServiceModel;
using System.Text;
namespace HotsingSamples
{
public class Service1 : IService1
{
public int AddofTowNumbers(int value1, int value2)
{
int res;
res = value1 + value2;
return res;
}
}
}
Build the service. And now we will host the service in different manner.
IIS Hosting
-
Main advantage of hosting a service in IIS is Host process is launched automatically upon the first client request.
-
Disadvantage is that only HTTP protocol could be used.
-
Another disadvantage is all the service will run on the same port.
-
Here Host Process life cycle is managed by the IIS.
Step 1:
a. Right click on service in solution explorer and select Publish.
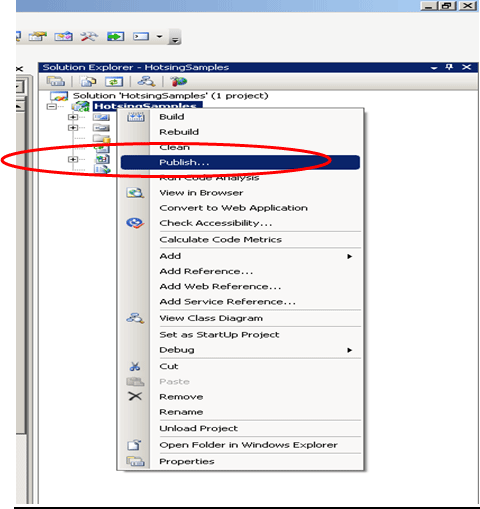
b. Click on browse button. See the button in red circle below.
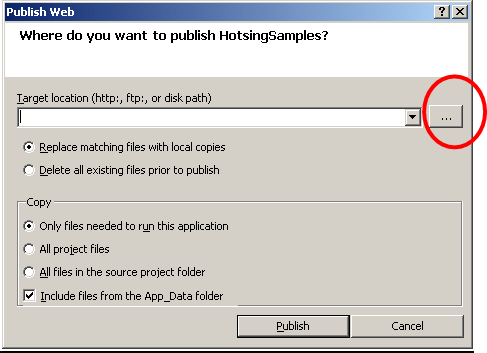
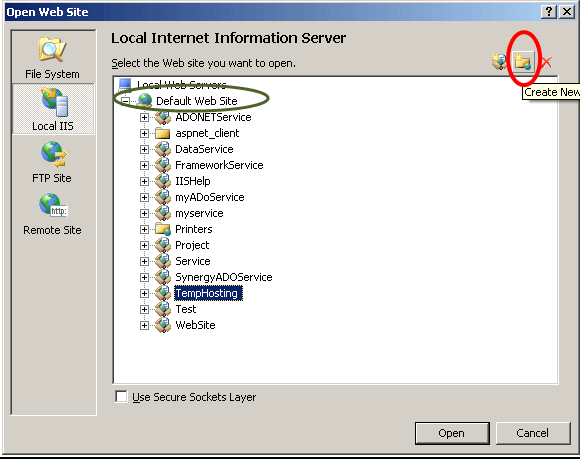
c. Either you can use existing Virtual Directory or you could create a New Virtual Directory. To create a New Virtual Directory, first click on Default Web sites ( see below image , circle in Green) and then click on Create new virtual directory (see below Image circle in Red)
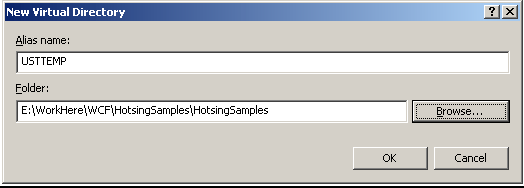
d. Give any Alias name for the Virtual directory of your choice. USTTEMP is alias name here. After giving alias name browse to the folder where Service is residing. Here service is saved in E:\\WorkHere\WCF\HotsingSample folder.
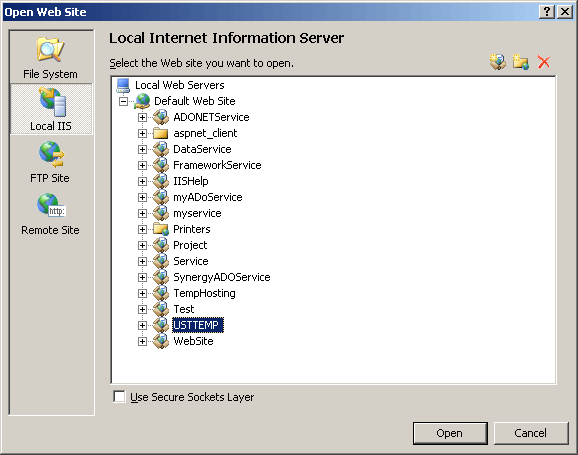
e. Click on Open
f. Click on Publish to publish the service in IIS.
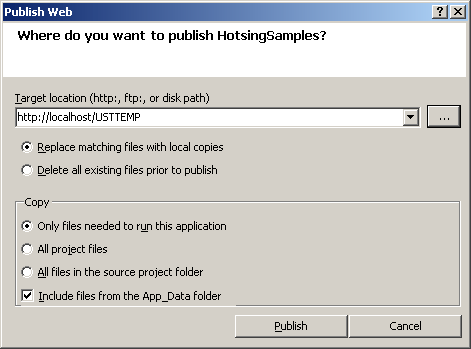
g. After clicking on Publish, a message will get display at bottom of visual studio saying that successfully published. See the Image in Red circle below.

Step 2:
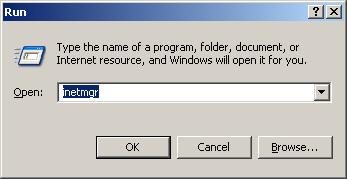
a. Click on Start->Run and type inetmgr. It will open the IIS window.
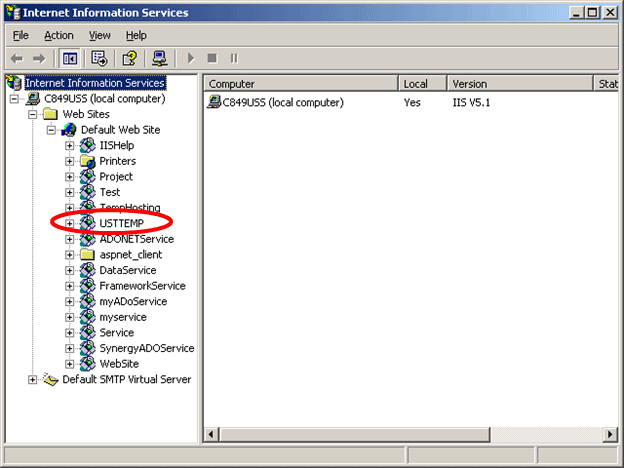
b. In IIS, you could able to see TEMPUST virtual folder.
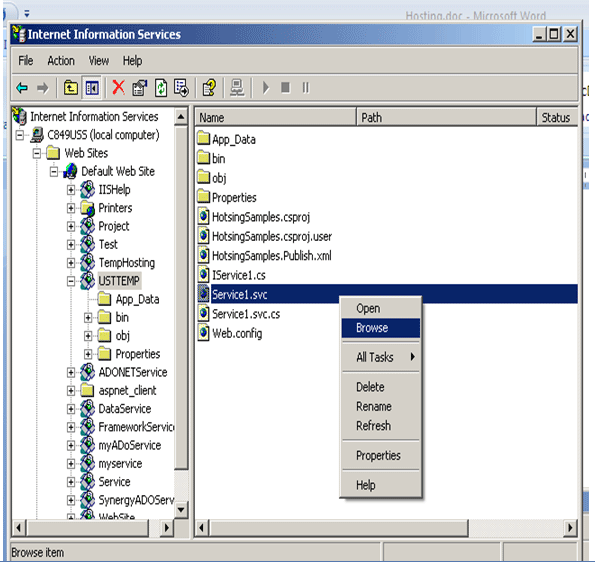
c. Just click on that, in right hand pane you will see service listed in this Virtual directory. Right click on service (name of you service) and select browse
d. In browser, you could see the service running.
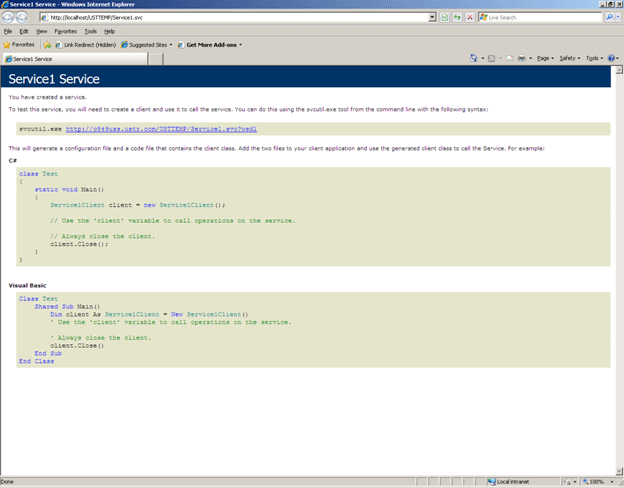
e. At client side to consume this service, provide this URL while adding service reference.
http://localhost/USTTEMP/Service1.svc
Points to be noted in URL
-
It does not have any port number because it is running on port number 80.
-
USTTEMP is name of the Virtual folder.
-
Service1.svc is name of the Service.
Self Hosting
-
This requires adding a managed code to host the process.
-
The code could be either a Windows form application or Console application.
-
Here host process must be running before client makes a call to the service.
-
Mainly Console applications are used for the purpose of self hosting.
-
The Console/Windows application must specifically create and open an instance of ServiceHost object.
-
The ServiceHost then remains open and available until it is no longer needed.
-
Configuration about the Service is being kept in the App.Config file.
Step 1:
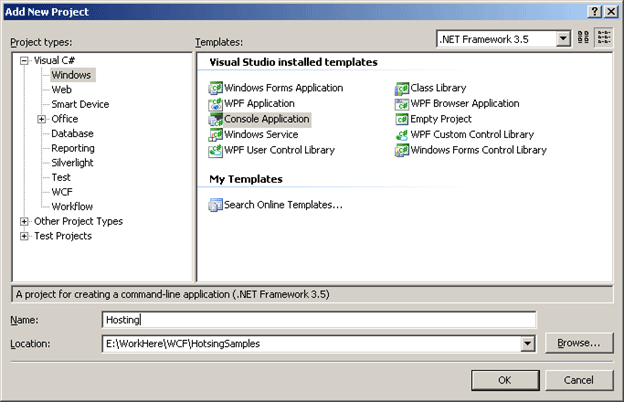
Right click on Service Project and add a new project by selecting Console Application as Project type. Name of console application project is here Hosting. You are free to give any name.
Step 2:
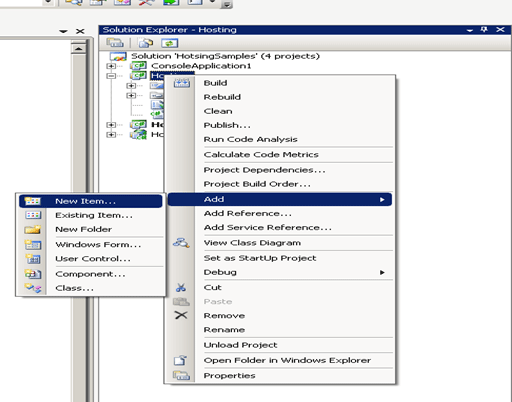
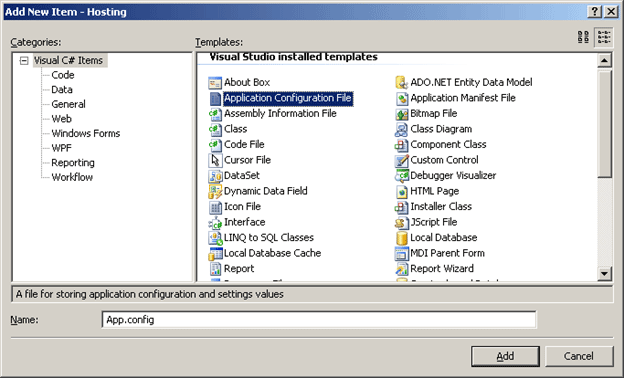
Right click on console application (Hosting) and add an App.Config file.
Step 3:
Add reference of System.ServiceModel in Console application project.
Add reference of Service project to the console application project.
Step 4:
Add below code in Main function
using (ServiceHost host = new ServiceHost(typeof(Service1)))
{
host.Open();
Console.WriteLine("Press <enter> to terminate the Application");
Console.ReadKey(true);
}
-
We are creating Instance of a Service Host.
-
We are passing Type of Contract as argument of the constructor of the Service Host.
-
Opening the Host.
Step 5:
Configuring the App.config file.
<?xml version="1.0" encoding="utf-8" ?>
<configuration>
<system.serviceModel>
<services>
<service name="HotsingSamples.Service1" behaviorConfiguration="HotsingSamples.Service1Behavior">
<!-- Service Endpoints -->
<endpoint address="" binding="basicHttpBinding" contract="HotsingSamples.IService1">
<!--
Upon deployment, the following identity element should be removed or replaced to reflect the
identity under which the deployed service runs. If removed, WCF will infer an appropriate identity
automatically.
-->
<!--<identity>
<dns value="localhost"/>
</identity>-->
</endpoint>
<endpoint address="mex" binding="mexHttpBinding" contract="IMetadataExchange"/>
<host>
<baseAddresses>
<add baseAddress ="http://localhost:8585/"/>
</baseAddresses>
</host>
</service>
</services>
<behaviors>
<serviceBehaviors>
<behavior name="HotsingSamples.Service1Behavior">
<!-- To avoid disclosing metadata information, set the value below to false and remove the metadata endpoint above before deployment -->
<serviceMetadata httpGetEnabled="true"/>
<!-- To receive exception details in faults for debugging purposes, set the value below to true. Set to false before deployment to avoid disclosing exception information -->
<serviceDebug includeExceptionDetailInFaults="false"/>
</behavior>
</serviceBehaviors>
</behaviors>
</system.serviceModel>
</configuration>
-
Adding the End Point
-
Adding the base address through configuration.

Step 6:
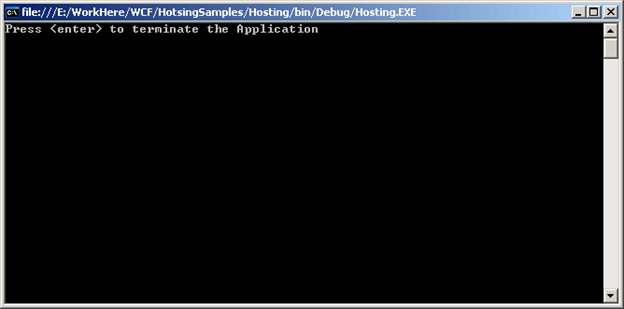
Run the console application to host the service.
