Introduction
In Silverlight 4, a property called TextTrimming is added to TextBlock, which will help the TextBlock to Trim a string up to a defined width. In this article we will see how this feature works.
Creating Silverlight Project
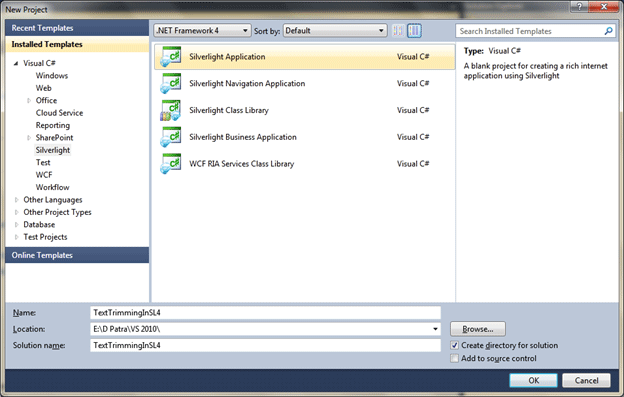
Fire up Visual Studio 2010 and create a new Silverlight Application Project. Name it as TextTrimminginSL4.

We will look at some TextBlocks to see how TextTrimming works in Silverlight 4.

The above TextBlock is a normal TextBlock whose Width is set to Auto by default.
In design view it would look like following.

Now let's examine another TextBlock whose Width is set to 290.

In design view, the above TextBlock looks like the following.

Now we have a TextBlock whose Width is set to 150 and whose TextTrimming property is set to "WordEllipsis".

In design view it would render text as shown below.

Let's run the application and resize the Browser Window.
You will see The TextBlock which has the TextTrimming property set to "WordEllipsis" will trim the width of the fully rendered string to fit into the width described by the Width property of the TextBlock control.
Without TextTrimming the width of a TextBlock whose content exceeds the width of the control, the TextBlocks view looks like the top line of the diagram below. When we set the TextTrimming property of a TextBlock whose content exceeds the width of the control, the TextBlock View produces the ellipse shown in the last line of the diagram.

Hope this article helps you understand how to take advantage of text trimming in your Silverlight Application.