In this third part of the article series, we will see how to enhance the UI for the game and add further functionality.
Open the XAML code of MainPage.xaml. Look for the following lines in it:
<UserControl.Resources>
<Style x:Key="ButtonStyle1" TargetType="Button">
Now, add the following lines under it (or alternatively set the same effect in Expression Blend 3 through the IDE).
<Setter Property ="Effect">
<Setter.Value>
<DropShadowEffect Color="Black" Direction="320" ShadowDepth="8"
BlurRadius="5" Opacity="0.5" />
</Setter.Value>
</Setter>
This will set a drop shadow effect for the ButtonStyle and then this style can be applied to all the buttons.
Similarly, set the DropShadow effect for the Grid as shown below:
<Grid.Effect>
<DropShadowEffect Color="Gray" Direction="320" ShadowDepth="15" BlurRadius="15" Opacity="0.5" />
</Grid.Effect>
When you run the application, you will see the output rendered similar to Figure 1.
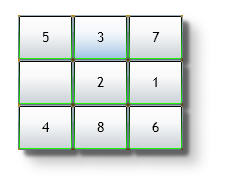
Figure 1
However, if you click the buttons, there would be no effect right now because we haven't yet coded the functionality for the Button Click event. Before we proceed to that however let's trap user interactions in Blend and give some effects for the same.
Click Resources option on the Window menu in Blend. Select ButtonStyle1 in the Resources panel on the right side.
Click Window->Interaction if the Interaction is not visible on the left.
In the Interaction pane, select Background in the Objects and Timeline section and then select MouseOver in the States section.
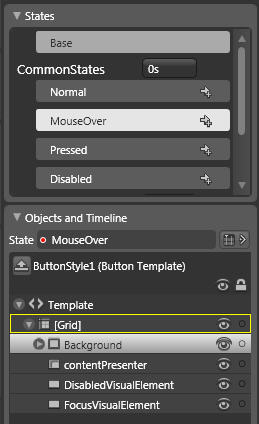
Figure 2
While the state recording is going on, open the Properties window and select brushes for the Background. Assume that you choose light yellow colored brush.
When you are done, click Base to stop the State recording and return to normal.
Now when you execute the application, you will see that mouse hovering over the button causes a change of background color. When the mouse pointer moves away from the button, the color returns back to normal.
Now, similar to the above, you can add further states and transitions such as Pressed, or Normal to MouseOver and so on.
In the next part of the article, we will add code to implement the actual logic of the game.
Part I | Part II | Part IV