Introduction:
Silverlight 2 provides you with the OpenFileDialog API using which you can open files of specific types such as, image files, text files and so forth.
In this article, you will see how to select and open a text file and display its contents in a TextBox.
First, create a new Silverlight 2 project. Drag and drop a Canvas, TextBox and a Button onto the Page.xaml, between the <Grid></Grid> tags.
Configure their properties as shown below:
<UserControl x:Class="FileDemo.Page"
xmlns="http://schemas.microsoft.com/winfx/2006/xaml/presentation"
xmlns:x="http://schemas.microsoft.com/winfx/2006/xaml"
Width="400" Height="300">
<Grid x:Name="LayoutRoot" Background="White">
<Canvas x:Name="canvasMain" Width="400" Height="300">
<TextBox x:Name="txtContents" AcceptsReturn="true" Canvas.Top="70" Canvas.Left="10" Width="250" Height="100" VerticalScrollBarVisibility="Visible"></TextBox>
<Button x:Name ="btnSelect" Content="Select File" Canvas.Top="10" Canvas.Left="10" Click="btnSelect_Click" ></Button>
</Canvas>
</Grid>
</UserControl>
The TextBox has its AcceptsReturn property set to true, which will render it as a multiline text box. This will be useful to display the text file contents. The TextBox also has its vertical scrollbar set so that if the file contents are large, the user can scroll down to see them fully. An event handler has been associated with the Click event of the Button. This event handler will be coded in Page.xaml.cs as shown below:
using System;
using System.Collections.Generic;
using System.Linq;
using System.Net;
using System.Windows;
using System.Windows.Controls;
using System.Windows.Documents;
using System.Windows.Input;
using System.Windows.Media;
using System.Windows.Media.Animation;
using System.Windows.Shapes;
using System.IO;
namespace FileDemo
{
public partial class Page : UserControl
{
private string contents;
public Page()
{
InitializeComponent();
}
private void btnSelect_Click(object sender, RoutedEventArgs e)
{
OpenFileDialog odlg = new OpenFileDialog();
odlg.Filter = "Text files|*.txt";
odlg.Multiselect = false;
if((bool)odlg.ShowDialog())
{
StreamReader reader= new StreamReader(odlg.File.OpenRead());
while (!reader.EndOfStream)
{
contents = reader.ReadToEnd();
}
txtContents.Text = contents;
reader.Close();
}
}
}
}
In the code within the event handler, an instance of OpenFileDialog is created and its Filter and MultiSelect properties are set. To display the dialog, we use ShowDialog method. If it returns a false, which means nothing was selected, we do nothing. If a file was selected, we create a StreamReader for it and read its contents into a string variable. Then we display the contents of this variable in the text box.
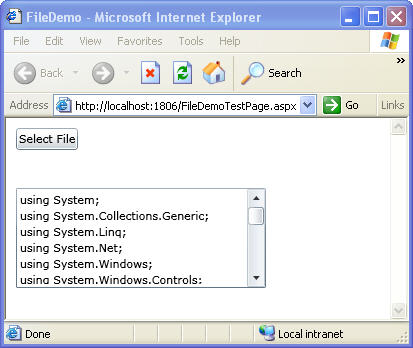
To test the application, I copied the entire text of Page.xaml.cs into a text file named Code.txt. Upon building and executing the application, the following output was shown after I selected Code.txt:

Figure 1
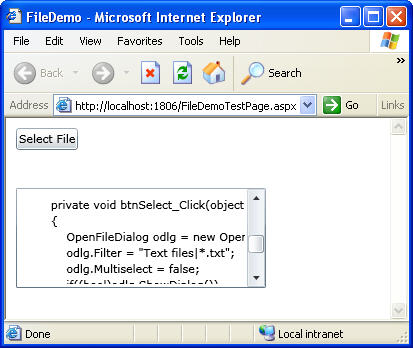
As the text box displays scrollbars, you can scroll down.
After scrolling further, more code was shown as seen below:

Figure 2
Conclusion: In this article, you explored how to select and open a text file and display its contents in a TextBox using OpenFileDialog in Silverlight.