Introduction
Today, in this article let's play around with one of the interesting and most useful concepts in SharePoint 2010.
Question: What are Lists?
In simple terms "It is a collection of different information pieces which are collaborated together and is developed with some unique set of properties which provides user to access form features".
I think we are now good to go and implement this wonderful concept.
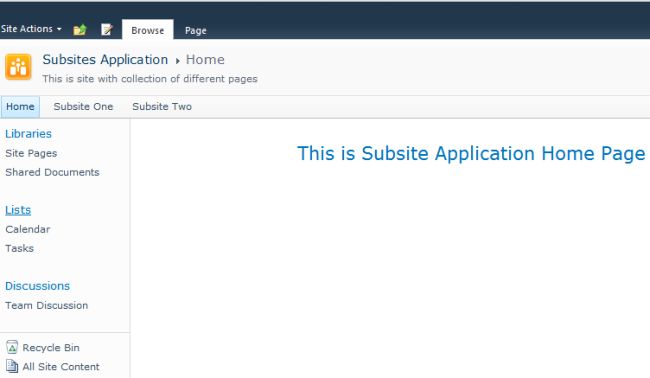
Step 1: Open SharePoint Server 2010 and navigate to central administration. Click on manage web applications. Navigate to any site created previously.
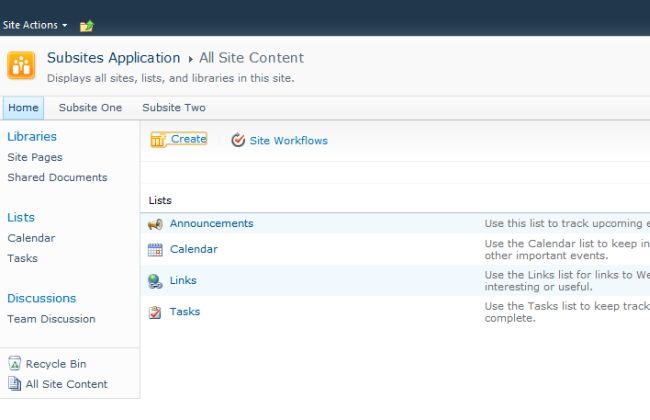
Step 2: Click on lists – tab. Now click on create.
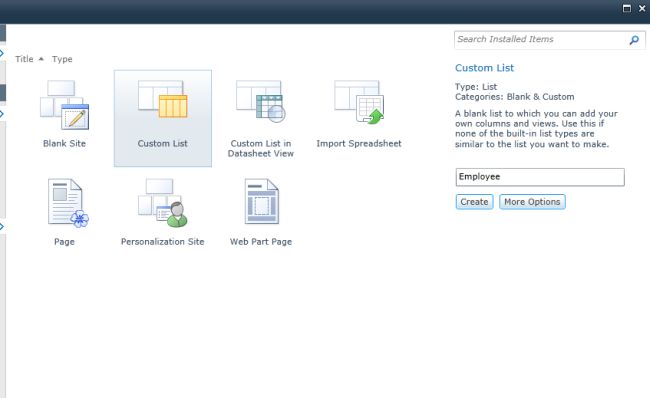
Step 3: Select custom list and give a name to the list and click on create.
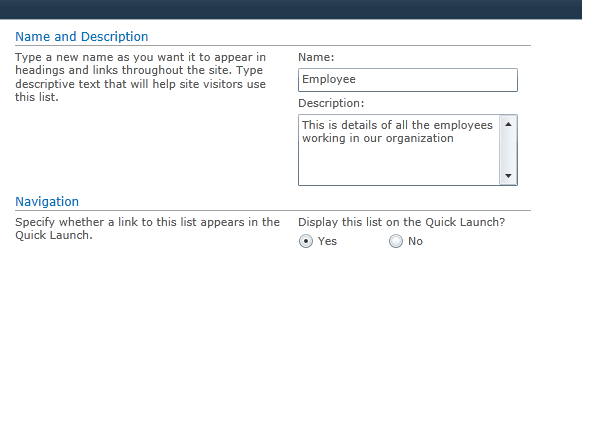
Step 4: The list is now created.
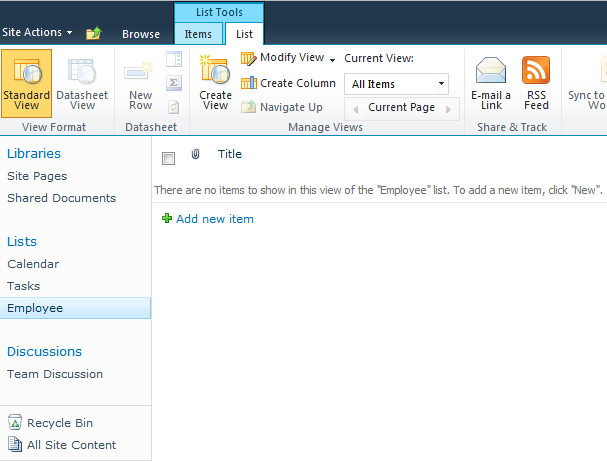
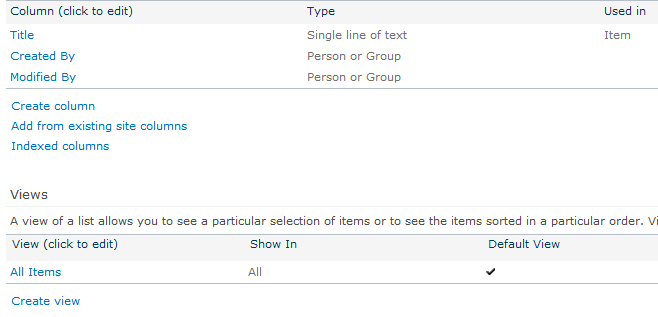
Step 5: Navigate to the list settings.
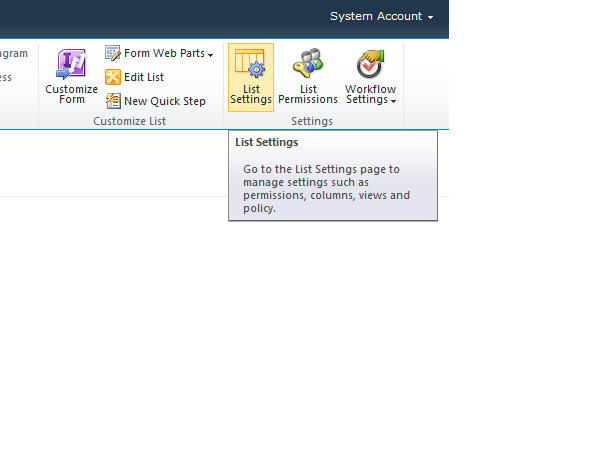
Step 6: Click on advanced settings.
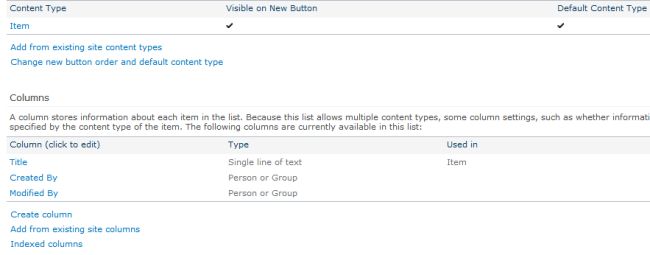
Step 7: Now select allow management of content types.
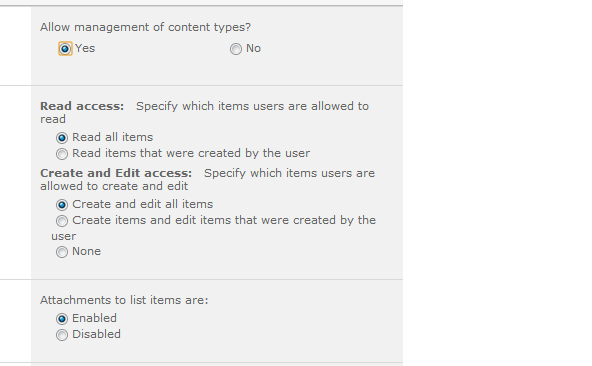
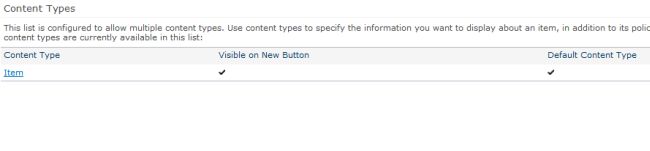
Step 8: Click on an item in the content type.
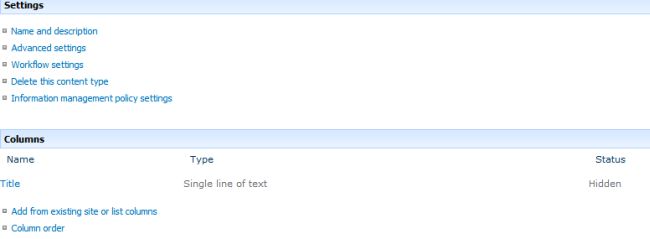
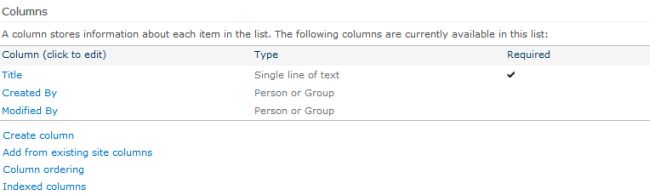
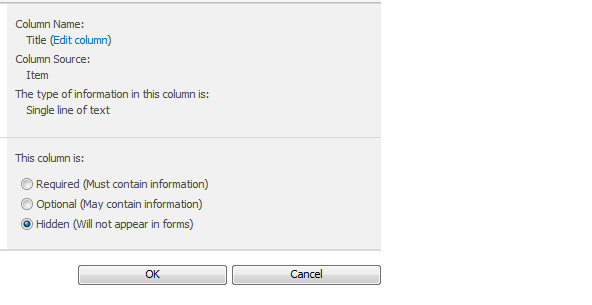
Step 9: Make title column as hidden
Step 10: Click on all items in the view to make the title column unchecked.
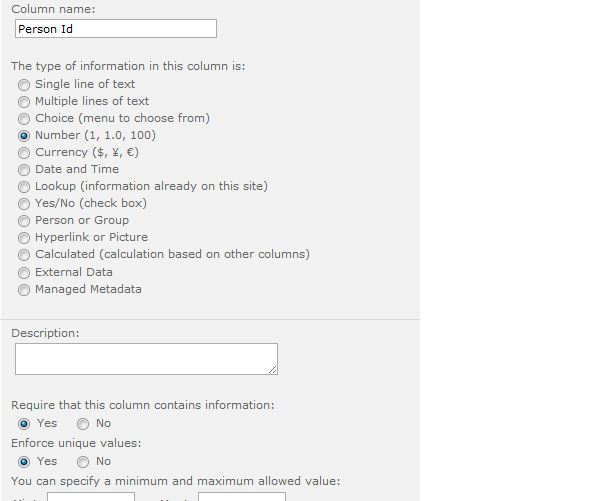
Step 11: Adding employee id column:
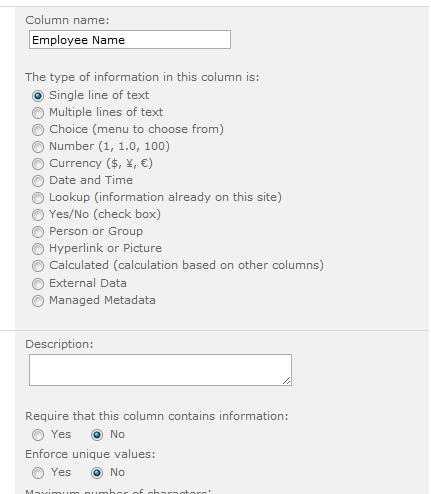
Step 12: Adding employee name:
Step 13: Adding age:
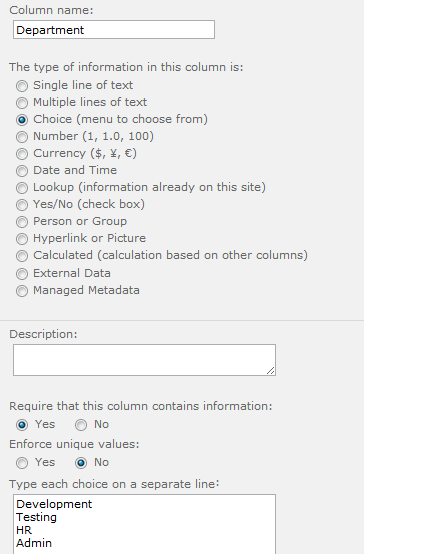
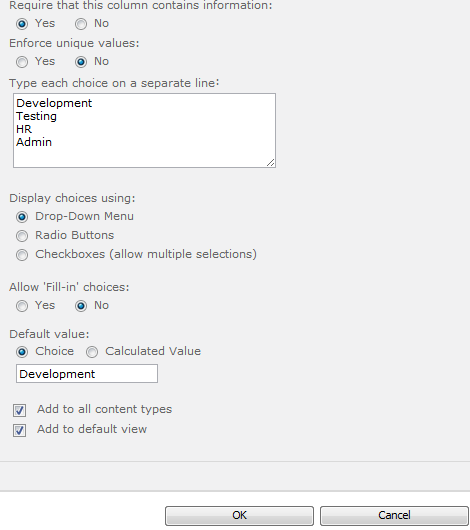
Step 14: Adding department:
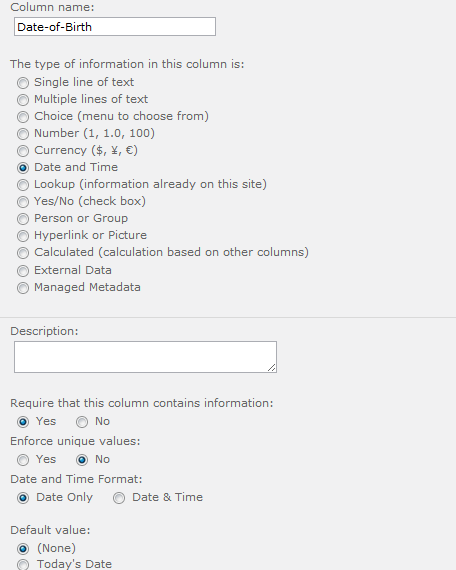
Step 15: Adding date-of-birth:
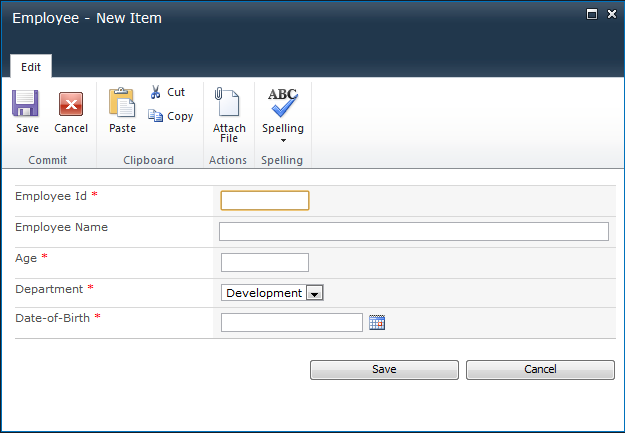
Step 16: Navigated to employee list:
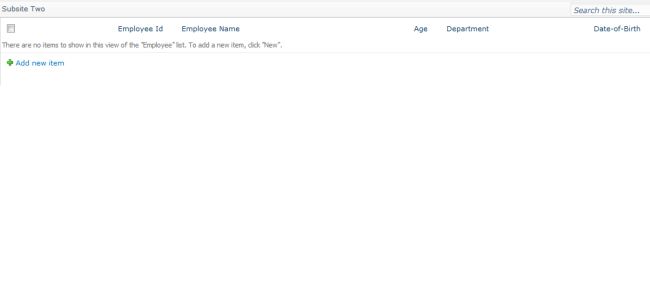
Step 16: Employee list output:
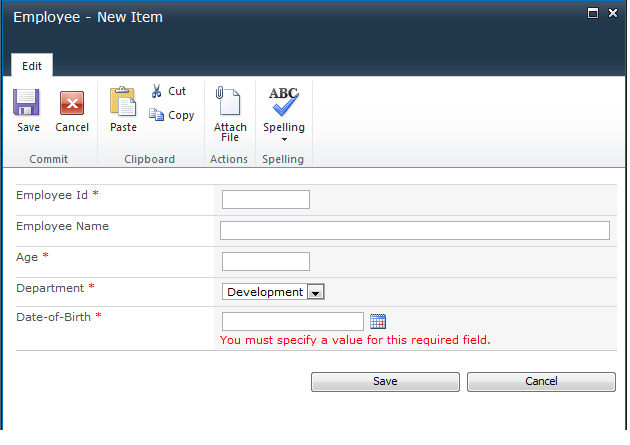
Step 17: Nothing entered for employee list:
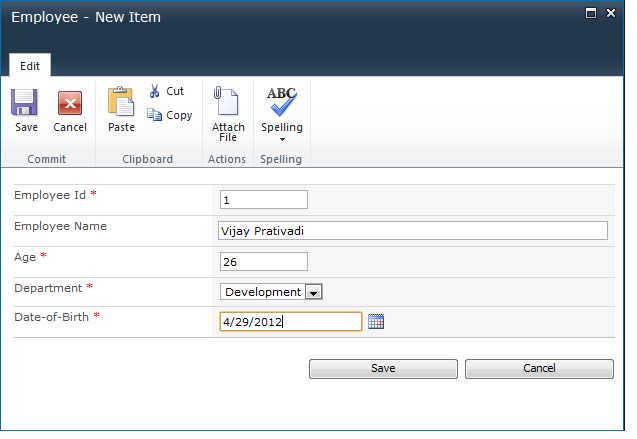
Step 18: Details entered for employee list:
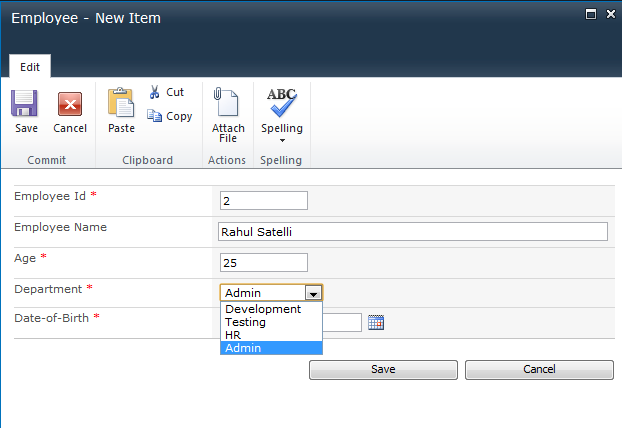
Step 19: Output of added list:

I hope this article is useful for you.