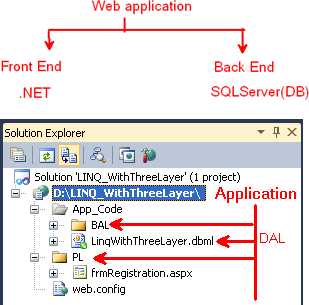
Step 1: (Back End)
When developing an application, first we prepare a database.
Create Databse:
Create dataBase LINQ_WithThreeLayer
use LINQ_WithThreeLayer
Create table:
create table tbl_Registration
(
Reg_Id int IDENTITY(1,1) primary key,
First_Name varchar(50) NULL,
Last_Name varchar(50) NULL,
UserName varchar(50) NULL,
Password varchar(50) NULL,
)
Create stored Procedure:
Create Proc [dbo].[SP_Registration]
(
@FName varchar(50),
@LName varchar(50),
@UName Varchar(50),
@Password varchar(50)
)
As
Begin
declare @Result int
if not exists(select UserName from tbl_Registration where UserName=@UName)
begin
insert into tbl_Registration(First_Name,Last_Name,UserName,Password)
values(@FName,@LName,@UName,@Password)
set @Result=1
return @Result
end
else
begin
set @Result=0
return @Result
end
End
Step 2: (Front End)
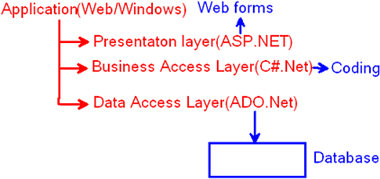
-
Create a web site with the name LINQ_WithThreeLayer.
-
Go to File menu, select New and select Website.

-
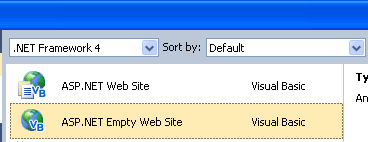
Select ASP.NET Empty Website.
-
Give the application a name (LINQ_WithThreeLayer).

Data Access Layer:
-
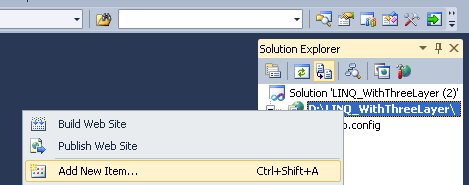
Go to the Solution Explorer, select the application, right-click select "Add new Item".
-
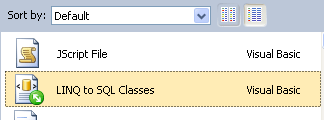
Select LINQ to SQL Classes Template.
-
Give the name for the class "LinqWithThreeLayer" and click add.

-
Click Yes.

-
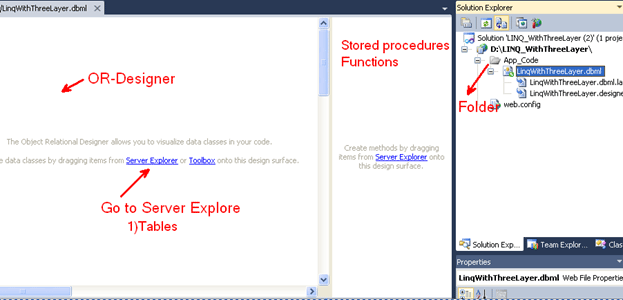
One App_Code folder is created in Solution Explorer.
-
And OR-Designer window displayed.
-
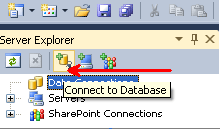
Go to Server Explorer, and click Connect to database.
-
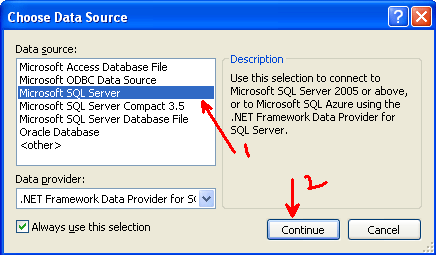
Select Microsoft SQL Server and click Continue.
-
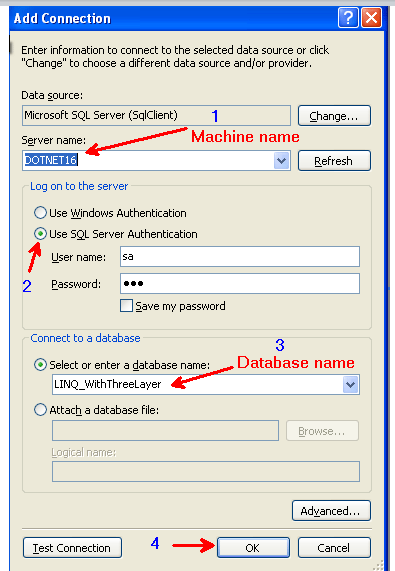
Give Server name (Client-server) / Machine Name(1-tier), select SQL Server Authentication, give the Database Name and click Test connection and finally Click OK.
-
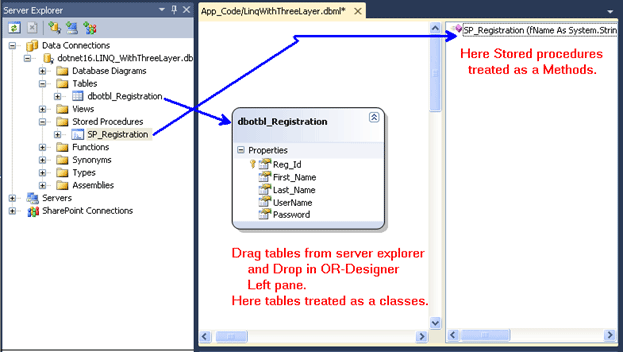
Go to the Serve rExplorer and drag tables and drop in OR-Designer to left side window, and drag stored procedures and drop to the right side window.
-
Then save OR-Designer window.
-
After Saving the OR-Designer window, automatically the Data Access Layer class was prepared. And in the web.config file the Connectionstring is created.
<connectionStrings>
<add name="LINQ_WithThreeLayerConnectionString"
connectionString="Data Source=dotnet16;
Initial Catalog=LINQ_WithThreeLayer;
User ID=sa;
Password=123"
providerName="System.Data.SqlClient" />
</connectionStrings>
Business Access Layer:
-
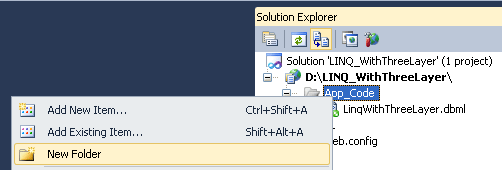
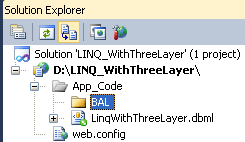
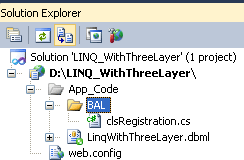
Go to Solution Explorer and select App_Code; select New Folder. Folder name BAL.
-
Select BAL and right click; select Add New Item. Again we can select Class Template, and class name is clsRegistration.

Select Class.

clsRegistration class code:
using System;
using System.Collections.Generic;
using System.Linq;
using System.Web;
/// <summary>
/// Summary description for clsRegistration
/// </summary>
public class clsRegistration
{
LinqWithThreeLayerDataContext obj = new LinqWithThreeLayerDataContext();
public clsRegistration()
{
//
// TODO: Add constructor logic here
//
}
public int InsertRegistrationDetails(string FName, string Lname, string UserName,
string
Password)
{
int res = obj.SP_Registration(FName, Lname, UserName, Password);
return res;
}
}
Presentation Layer:
-
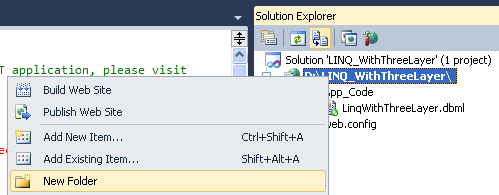
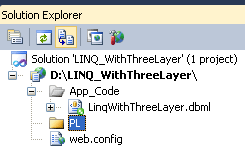
Go to the Solution Explorer and select application and right click and select Add New Folder. And give it the name PL (Presentation layer).
-
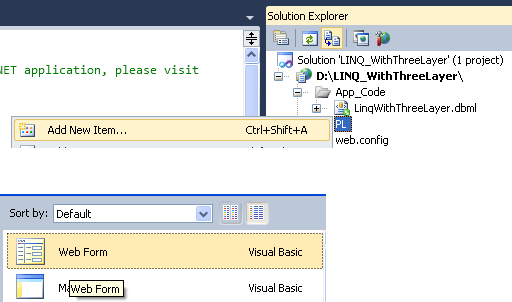
Go to PL folder and select and right-click, select Add New Item, and select Webform template; give it the name frmRegistration.
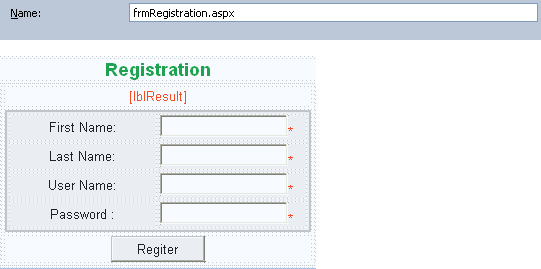
Code behind:
using System;
using System.Collections.Generic;
using System.Linq;
using System.Web;
using System.Web.UI;
using System.Web.UI.WebControls;
public partial class ThreeLayer_Linq : System.Web.UI.Page
{
clsRegistration obj = new clsRegistration();
protected void Page_Load(object sender, EventArgs e)
{
}
protected void btnRegister_Click(object sender, EventArgs e)
{
string Fname = Convert.ToString(txtFName.Text);
string Lname = Convert.ToString(txtLName.Text);
string Uname = Convert.ToString(txtUName.Text);
string Password = Convert.ToString(txtPassword.Text);
int res = obj.InsertRegistrationDetails(Fname, Lname, Uname, Password);
if (res > 0)
{
lblResult.Text = "Registration details are inserted Successfully!";
}
else
{
lblResult.Text = "Not inserted!";
}
}
}