The Windows Azure Development portal has been moved to a new Silverlight based portal. It has an all new look and many new features.
SQL Azure can be explored by selecting the Database option from the left panel.
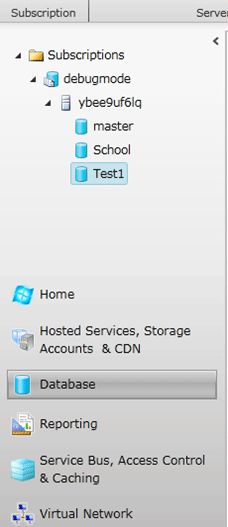
The new SQL Azure portal is having a very nice Silverlight based user interactive UI and many more operations can be performed through the UI. There is a new database manager and it allows us to perform operations at the table and row level.
Now we can perform many more operations through the Database option of the new Windows Azure portal.
- Create a database
- Create/ delete a table
- Create/edit/delete rows of table.
- Create/edit stored procedure
- Create/edit views
- Create / execute queries etc........
Let us have a walkthrough of various operations we can perform on Database option of the new Windows Azure portal.
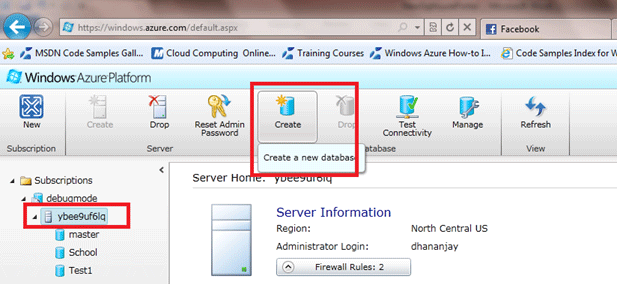
To create a new Database, select Data base server and from Database section, select Create option.
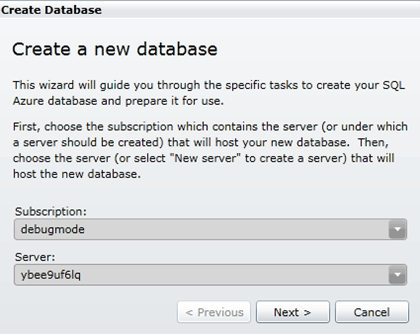
You will get the popup shown below; select subscription and server from the drop down.
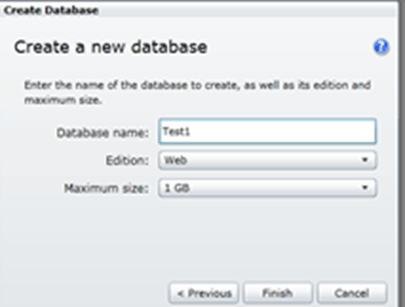
Give the name of the Database, select Edition and the maximum size of the database.
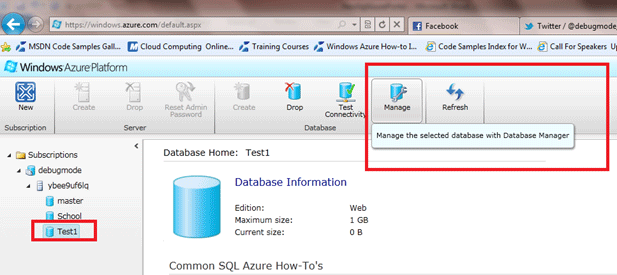
When the database has been created, select the Manage option at the top to open the Data Base Manager.
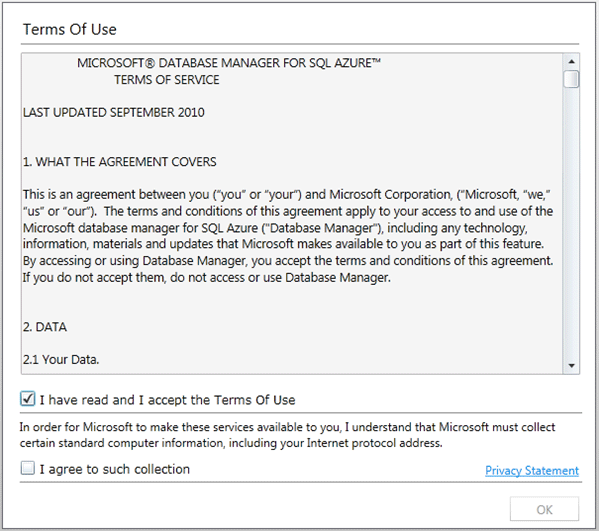
Accept given term and conditions and click Ok.
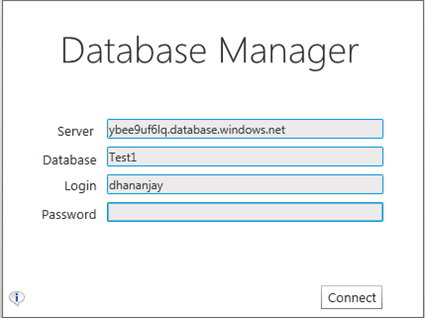
After Ok, you will get a popup asking for the password to connect to the database. Provide the password and click on Connect.
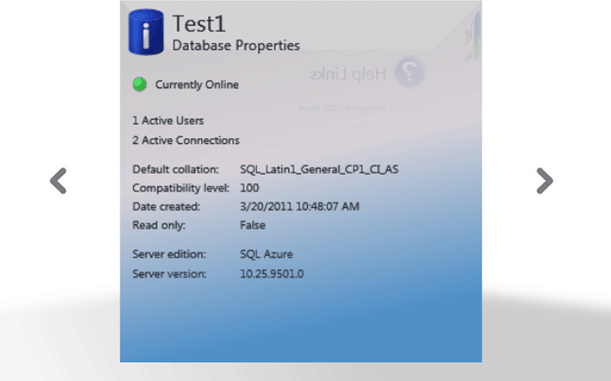
After successful connection, you will get a cube providing all the information about the database you connected to.
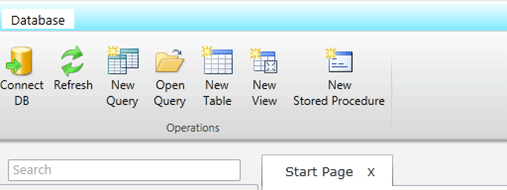
You can perform all the database operations from the top ribbon. You have the option to create a new query, new table, new view, and new stored procedure.
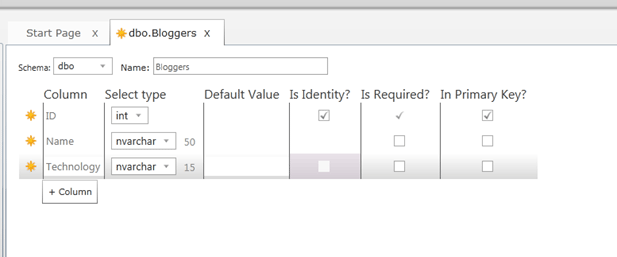
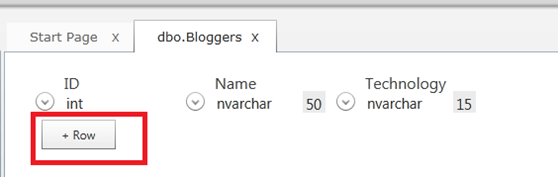
If we want to create a new table, click the New Table option from the ribbon. We are creating a table with the name Blogger. We are giving it the columns ID, Name and Technology. From the drop down we can select data type for the columns.
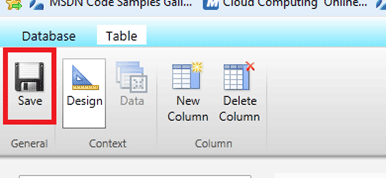
Then click the save button at the top:
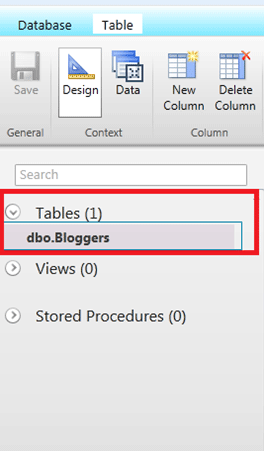
You can navigate between Data Base and Table tab. You can create and delete a column from here also. Once you click on the save button, you can see the table listed at left panel.
At the top you can see that you have an option to navigate to either a design or data view of the table. Click on Data tab to navigate to Data view.
Click on Row to add a Row to the table.
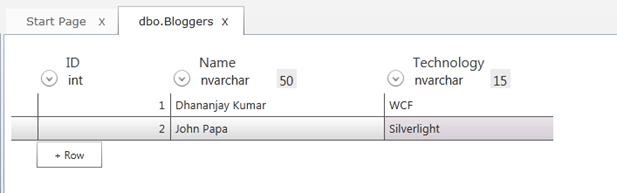
After adding two rows, you can see the table as below. You can add and delete rows from the top button also.
Now to execute the query, select the Database tab at top and execute query as below:

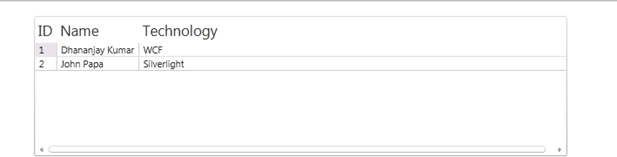
When you click Execute button at top, you will get output as below:
In this way, you can perform almost all the basic operations from the new SQL Azure Data Base Manager.