Objective:
I am going to show in this tutorial, how to configure Master Pages for a SharePoint site.
Expected Output
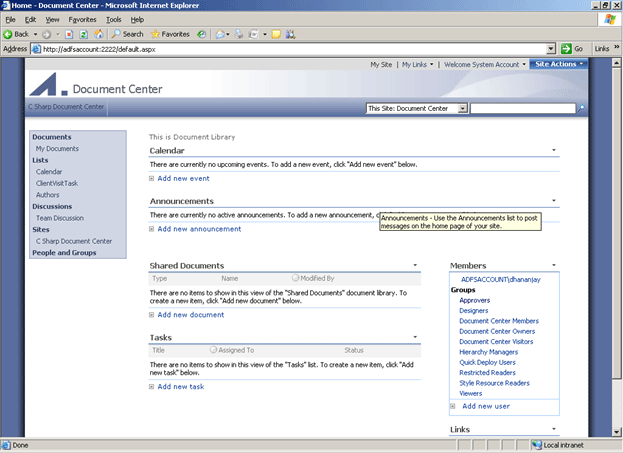
Boring default look of SharePoint site,

We are going to change this look to look like below
Step 1:
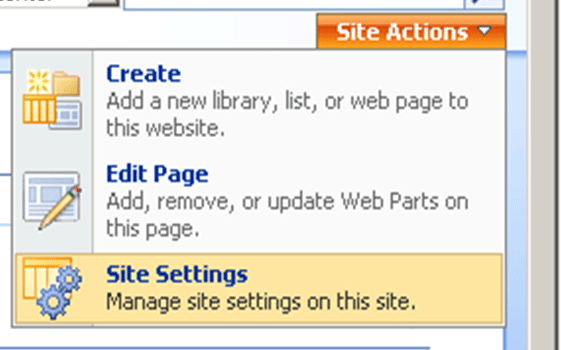
Go to Site Actions and then Site Setting
Step 2:
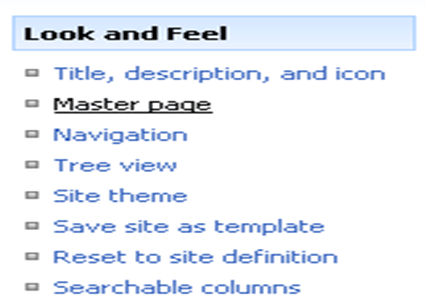
In Look and Feel tab, select Master Pages.
If you are not able to locate or find the Master Page inside Look and Feel category, then follow step3 else directly go to step 4.
Step 3:
Inside Site Collection Administration tab, select Site Collection feature and activate all the features.
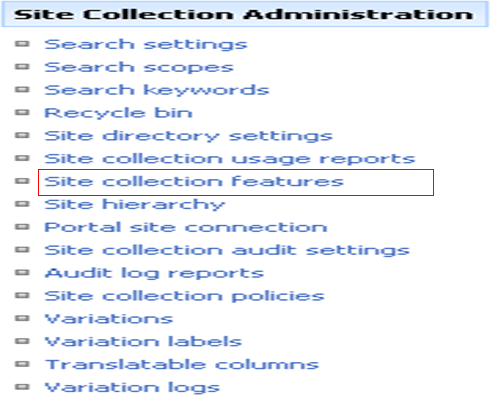
Make sure all status of all the features are Active.
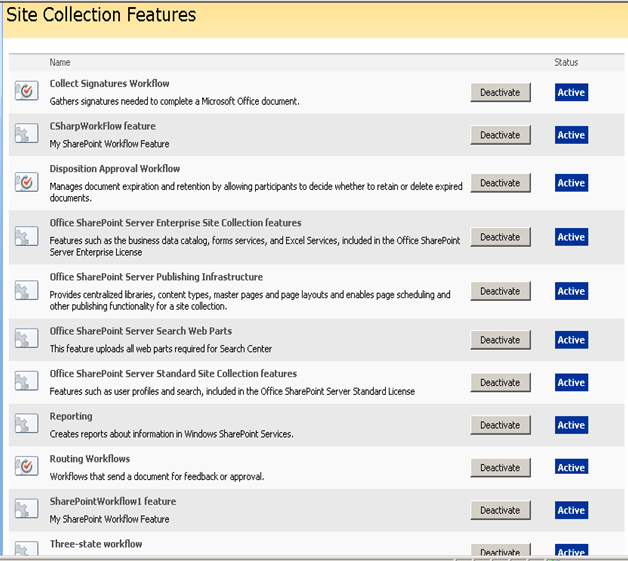
Once all the features are active, you would able to find Master pages inside Look and Feel category.
Step 4:
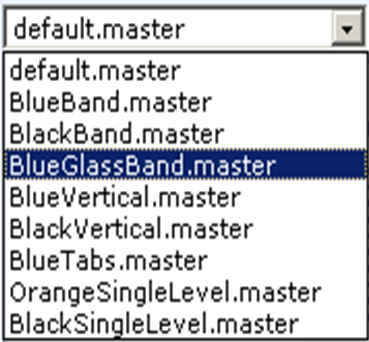
Once clicking on Master Page, you will be getting the Site Master Page Setting page. You need to select different master pages here. All the Master Pages provided by SharePoint would be listed here.
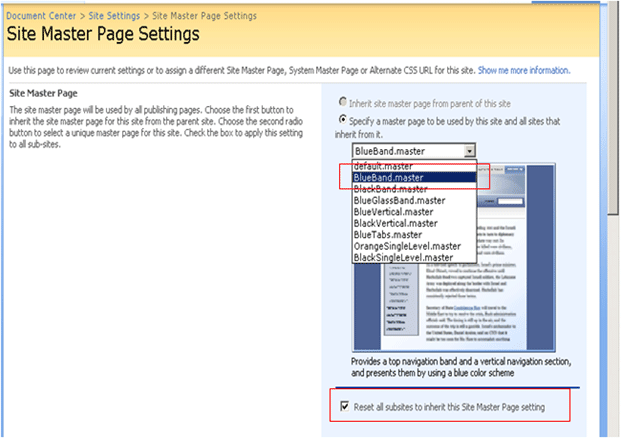
Site Master Page Section
This section is used by the all the publishing pages. Select the Check Box to apply the master pages to all sub sites.
I am selecting BlueBand.Master page. I am checking the check box also to apply setting to all the sub sites.
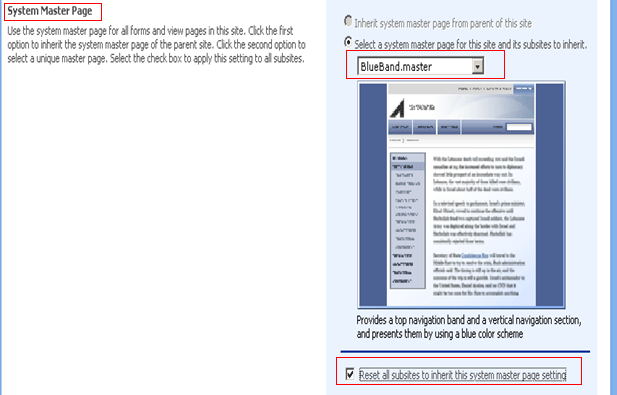
System Master Page Section
This section is used to configure master page setting for all forms and view pages in the site. I am going to set same master page setting as Site Master Page section.
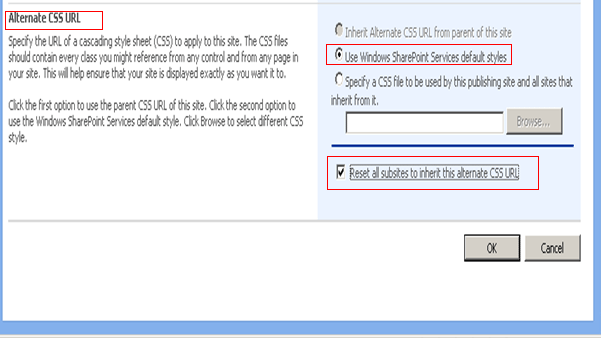
Alternate CSS URL section
In this section either you could specify URL of the alternate CSS file or could use the WSS default CSS style sheet.
I am using default WSS CSS Style sheet.
Press Ok to apply the new Master Page setting.
Go to home page of the site to see the new setting.

Conclusion:
In this article, I showed how to configure Master Page setting for a SharePoint site. Thanks for reading.
Happy Coding.