Objective
In this tutorial, I will give step by step pictorial representation of installing Silverlight 4.0 Beta.
Minimum Requiremnet
Silverlight 4.0 beta can only be installed in Visual Studio 2010.
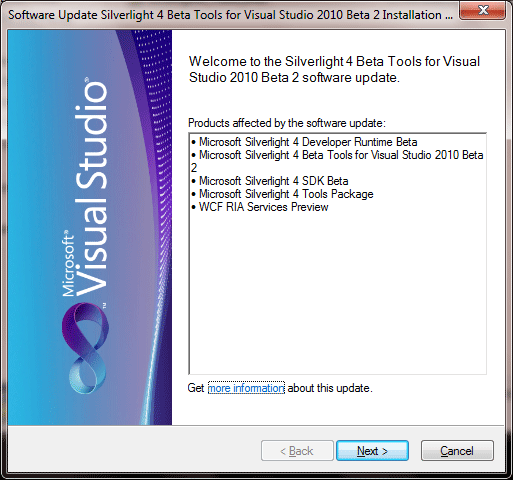
Step 1: Install Silverlight 4.0 devloper run time.
Link to dwonload Developer runtime is below,
http://www.microsoft.com/downloads/details.aspx?FamilyID=9fa8afe9-cad6-4090-a7f6-7d9cdc560e2d&displaylang=en
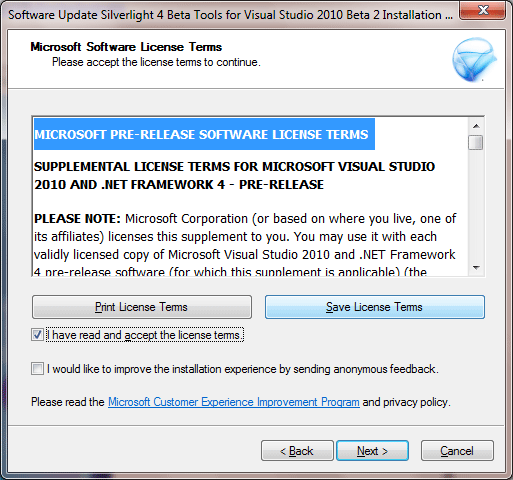
After downloading, just run the application. Follow the steps as given below.
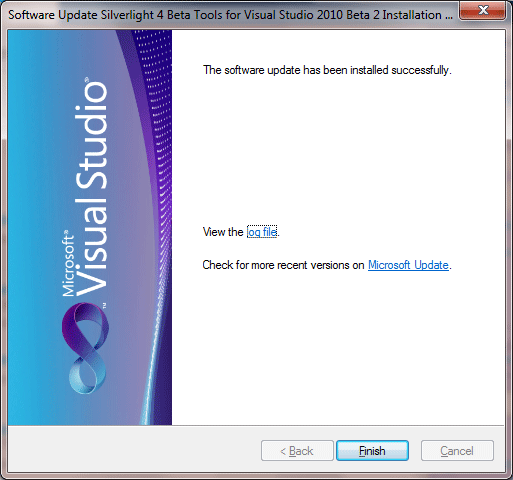
Now Silverlight 4.0 run time has been installed on your system.
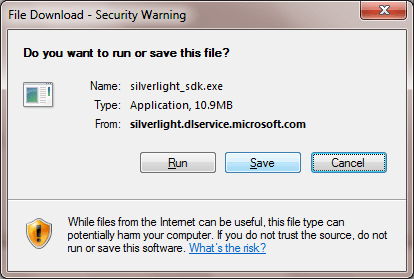
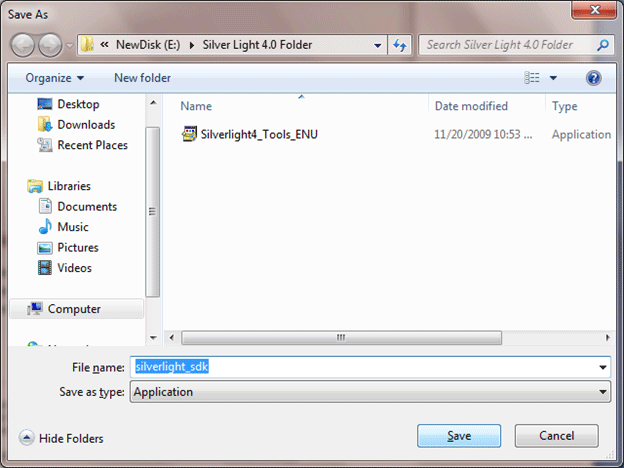
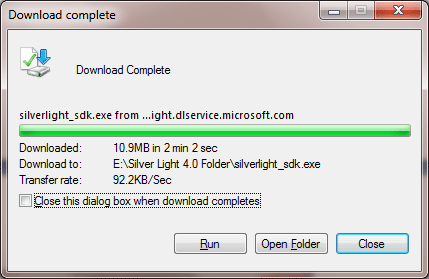
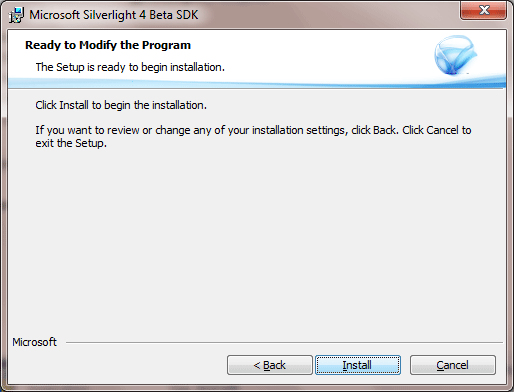
Step 2: Install Silverlight 4.0 SDK
Download Silverlight 4.0 SDK from below link and install it,
http://go.microsoft.com/fwlink/?LinkID=169408
Just follow the below steps for installation,
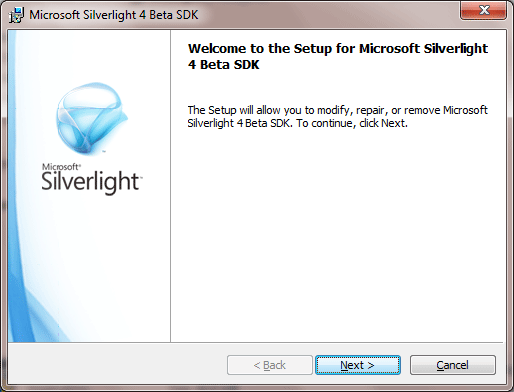
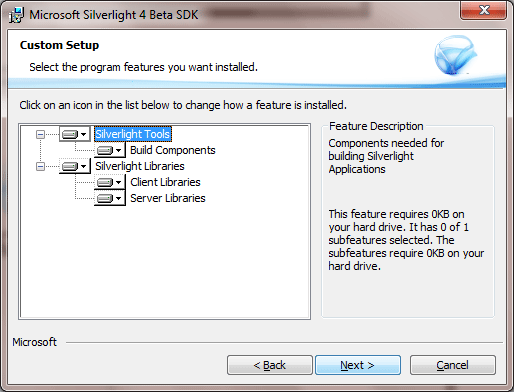
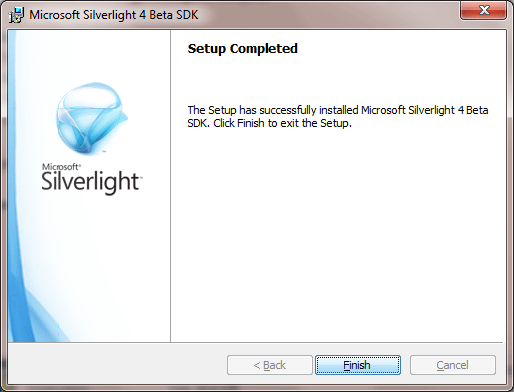
Upto this Step Silverlight 4.0 SDK has been installed on your system.
Step 3: Install Blend 4.0
Download from below link
http://www.microsoft.com/downloads/details.aspx?FamilyID=6806e466-dd25-482b-a9b3-3f93d2599699&displaylang=en
and install Belnd 4.0 Beta for Silverlight 4.0.
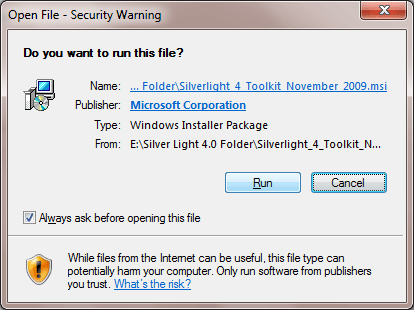
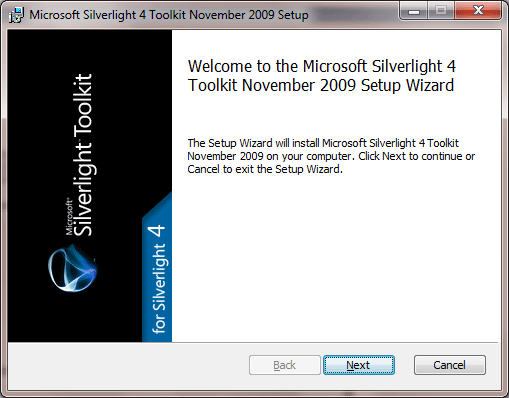
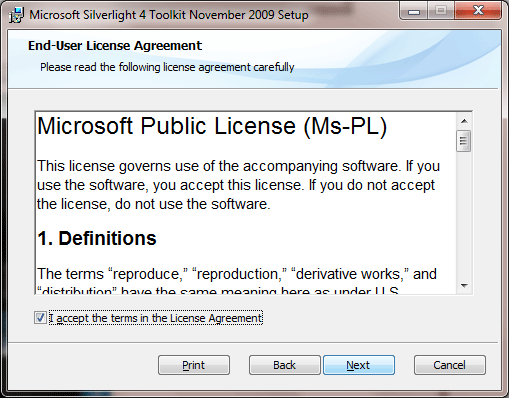
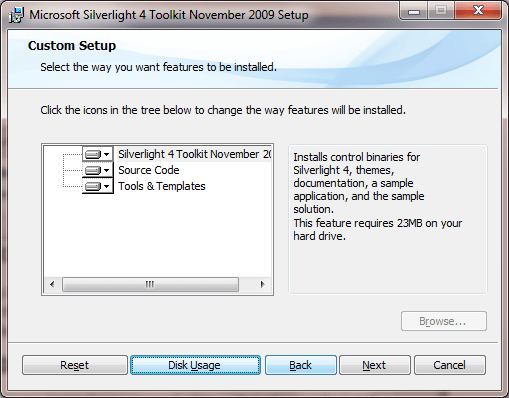
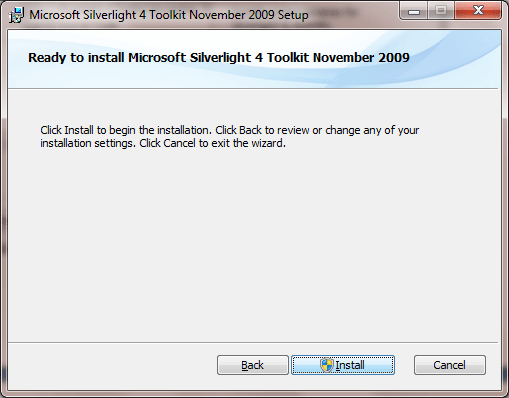
Step 4: Install Silverlight 4.00 Tool Kit
To install Silverlight toolkit download from below link
http://silverlight.codeplex.com/Release/ProjectReleases.aspx?ReleaseId=36060
Follow the below steps as shown below


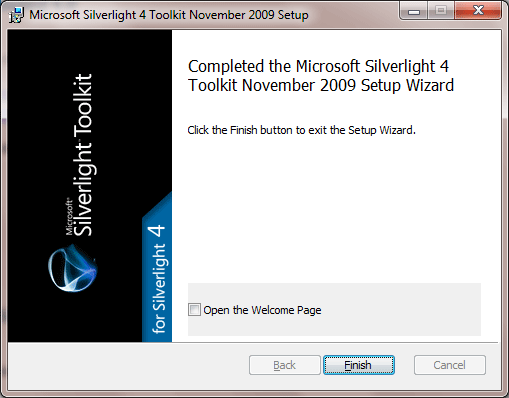
Now Silverlight 4.0 toolkits has been installed on your system.
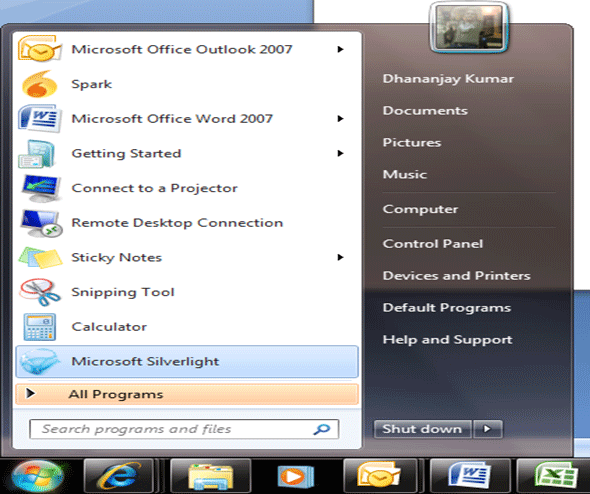
After installing you should able to Silverlight Configuration wizard in Start menu. Like below.
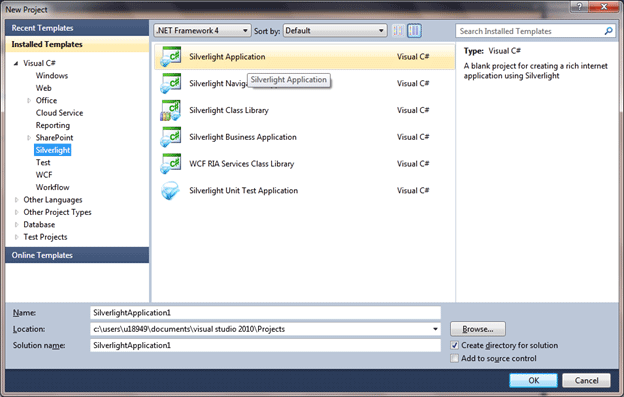
And in visual studio , you should able to get all Silverlight 4.0 project templates.
Conclusion
In this tutorial, I shown how to install Silverlight 4.0 Beta on Visual Studio 2010. Thanks for reading.