Introduction
This is an effect everybody are imagined of, so I decided to create a simple article to understand better. Ghosting is an effect that is used in a lot of interactive applications-you click a button or element, and a copy of the element scales up and fades out over a second or two. This lets a user know that the action they took was recognized. The effect can also be used when an application first loads in order to draw attention to a particular part of the interface.
Creating the Silverlight Project
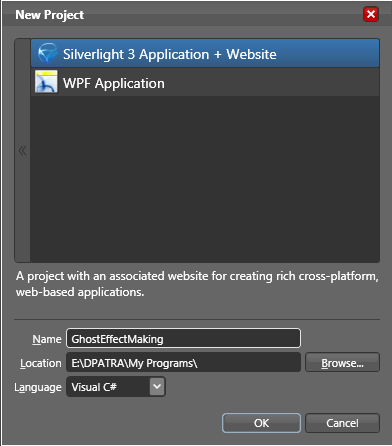
Start creating a new Silverlight3 Application and Name the Application as GhostEffectMaking.
We will start with a Ghost Effect for a TextBlock.
Ghost Effect for Text
-
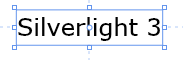
Add a TextBlock to the Grid Layout. (Note: You can add it to any container you need.)
-
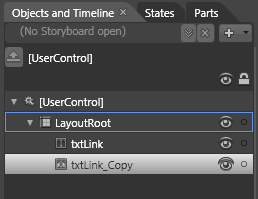
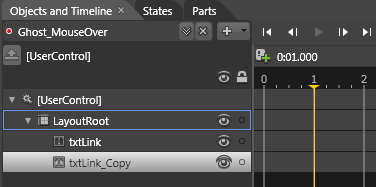
Copy the TextBlock and Paste it in the same place.
-
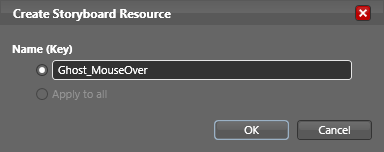
Select the newly copied TextBlock and create a StoryBoard. Name it as Ghost_MouseOver.
-
Now recording for the StoryBoard will start. Here you need to Click on the timeframe 1 sec.
-
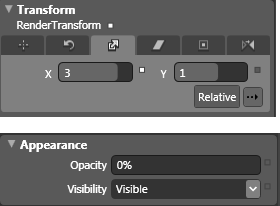
Change the following Properties of the txtLink_Copy, such as In Scale Transform X and Y to 3 and Opacity to 0.
-
Close the StoryBoard and make this control's Visibility to Collapsed.

-
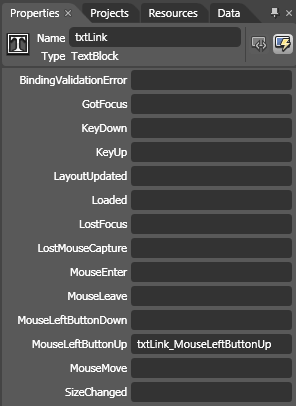
Now it's time to see the animation. Add an event listener to the MouseUp event of txtLink.
-
Add the following lines of code to the event.
txtLink_Copy.Visibility= Visibility.Visible;
Ghost_MouseOver.Begin();
Behind the scenes, the animation actually does play each time you click. However, you can't see it because the first time the animation plays, the opacity value of the object is animated to a value of 0, and is left there when the animation completes. So every other time you click the object, the animation plays, but the object is totally transparent. This can be fixed by listening for the storyboard to finish and then resetting the object's state.
-
Now go to your XAML code behind and find the StoryBoard named Ghost_MouseOver. Add an event called Completed.

Press Enter to add the event handler as
Completed="Ghost_MouseOver_Completed".
-
Navigate to the above function and add the following lines of code. So that each time you click on the text you will be able to see the animation.
private void Ghost_MouseOver_Completed(object sender, EventArgs e)
{
txtLink_Copy.Visibility = Visibility.Collapsed;
Ghost_MouseOver.Stop();
txtLink_Copy.Opacity = 1;
}
You will get the final effect as follows.

Remember, you can play with different colors. Enjoy Animating.