Introduction
In this article we will see how we can achieve multi grouping in Silverlight.
Ordinarily, radio buttons are grouped by their container. That means if you place three RadioButton controls in a single StackPanel, they form a group from which you can select just one of the three.
Creating Silverlight Project
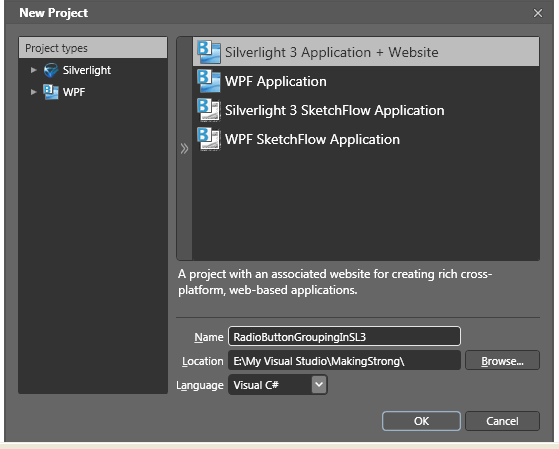
Fire up Blend 3 and create a Silverlight Application. Name it as RadioButtonGroupingInSL3.

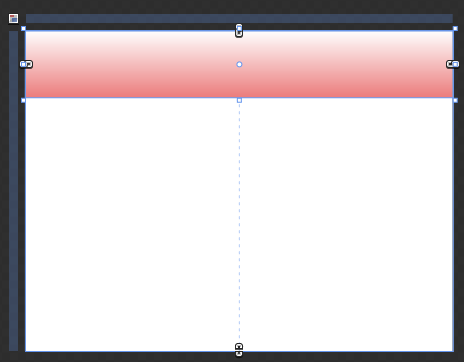
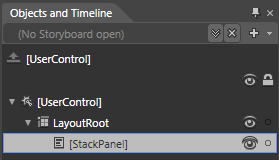
Add a Stack Panel into the Grid.


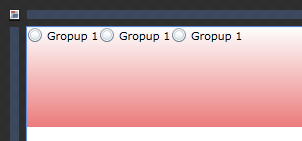
Now add three Radio Buttons into Stack Panel Name them as Group 1.

Now at this point of time if you run your application you will find by default they are grouped, so that only one Radio Button can be selected.
if you place a combination of radio buttons in two separate StackPanel controls, you have two independent groups on your hands.
To achieve multi groping we will add another four Radio Buttons.
This time name them as Gropu 2 and Gropu 3.

The GroupName property allows you to override this behavior. You can use it to create more than one group in the same container or to create a single group that spans multiple containers. Either way, the trick is simple-just give all the radio buttons that belong together the same group name.
<Grid x:Name="LayoutRoot" Background="White">
<StackPanel Height="100" VerticalAlignment="Top" Margin="0" Orientation="Horizontal">
<StackPanel.Background>
<LinearGradientBrush EndPoint="0.5,1" StartPoint="0.5,0">
<GradientStop Color="#FFEC7C7C" Offset="1"/>
<GradientStop Color="White"/>
</LinearGradientBrush>
</StackPanel.Background>
<RadioButton Content="Gropup 1"/>
<RadioButton Content="Gropup 1"/>
<RadioButton GroupName="Group2" Content="Gropup 2"/>
<StackPanel Orientation="Horizontal">
<RadioButton Content="Group 3"/>
<RadioButton Content="Group 3"/>
<RadioButton Content="Group 3"/>
<RadioButton GroupName="Group2" Content="Group 3"/>
</StackPanel>
</StackPanel>
</Grid>
Here, there are two containers holding radio buttons, but three groups. The final radio button at the bottom of each group box is part of a third group. In this example, it makes for a confusing design, but there may be some scenarios where you want to separate a specific radio button from the pack in a subtle way without causing it to lose its groupmembership.
Now if you run your application you will find the third Radio Button of the first Stack Panel can be selected too.

Enjoy Coding.