Creating a WPF Project
Fire up Visual Studio 2008, create a Blank Visual Studio Solution, and name it as WPFCOM.
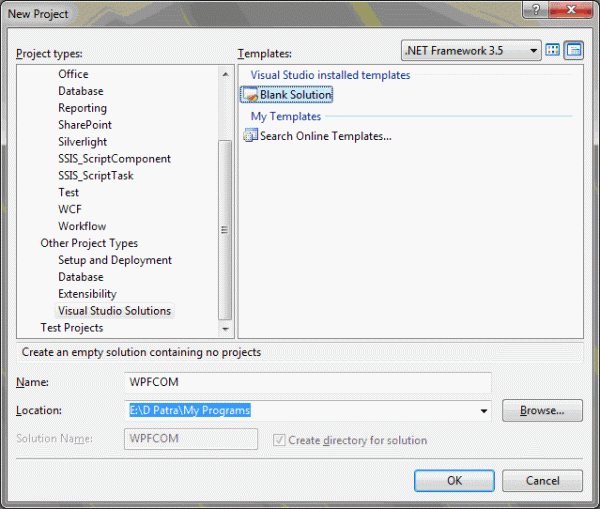
Let's add a WPF Application project into the solution and name it as WMPInWPF.
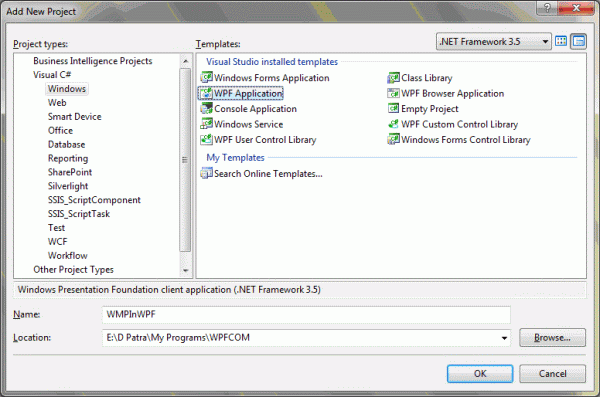
Let's forget that we have added the WPF Application to the project for some time.
Now let's add a Windows Forms Control Library, and name it as MediaLibrary.
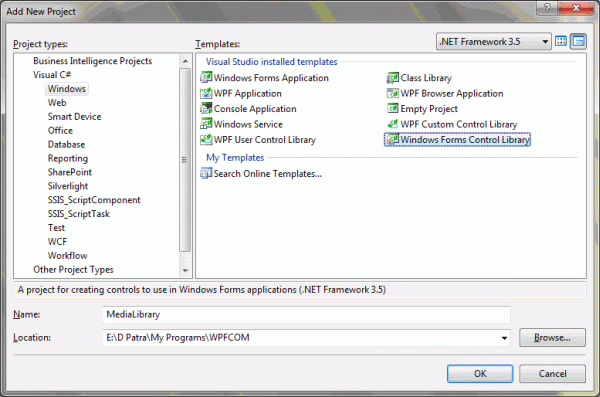
Now we need to follow exact steps:
1) Add Reference to "wmp.dll" in COM tab.
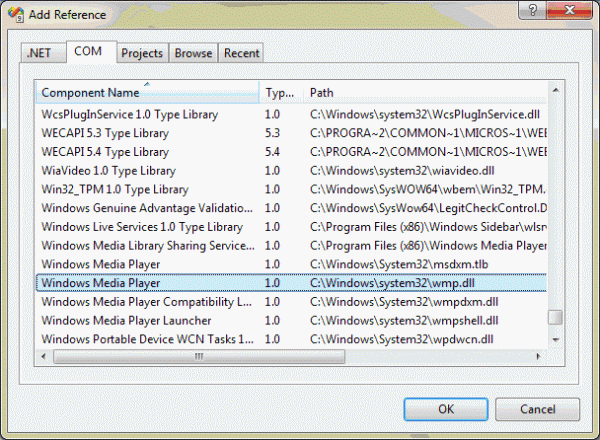
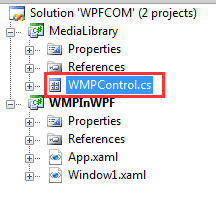
After you have added the dll into the MediaLibrary project the following structure is modified.
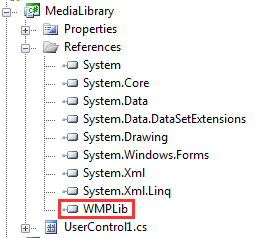
Now build the project and add the component to the Toolbar, by Right clicking on the Toolbox and select Add Tab, give name as COM Controls.
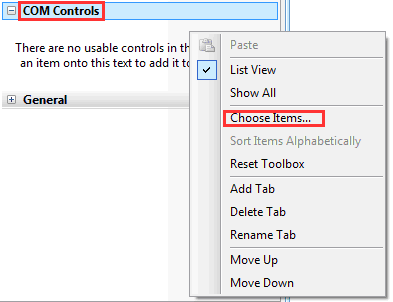
As you see above add dll by selecting Choose Items, select the same DLL as you have imported to the project that is, wmp.dll
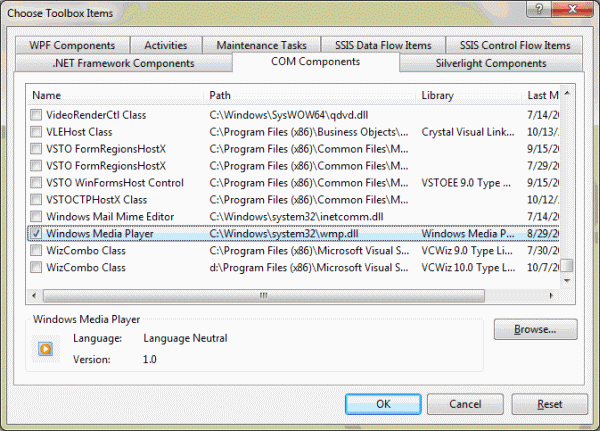
After you press OK on the above dialog box you would see that the Windows Media Player Control is added to the Toolbox.
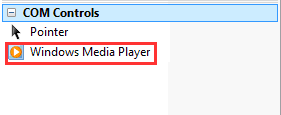
As you see in above figure we have Windows Media Player control, just drag and drop in the User Control's designer surface.
You would see something similar to the following figure.
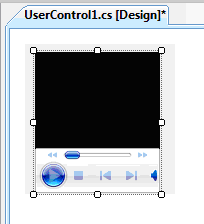
Now we would make it Dock in the center so that it would fill in properly in the User Control.
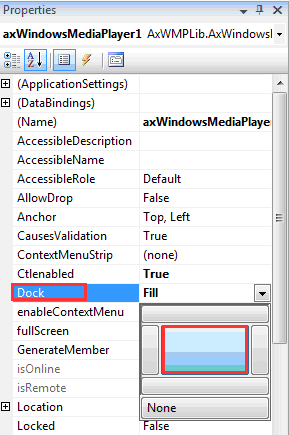
And it would fill the User Control as displayed below:
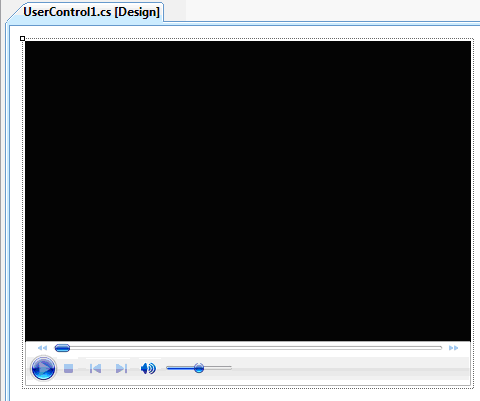
Now another important step is to build the project again.
As soon as you build the project the related DLL's are created in the BIN folder of the project:
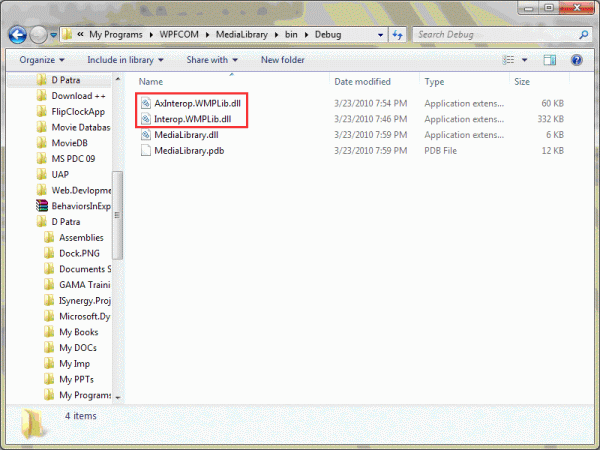
Now we achieved successfully getting these DLL's and designing the User Control.
Now before proceeding further let's just change the name of the UserControl to something useful, such as WMPControl.
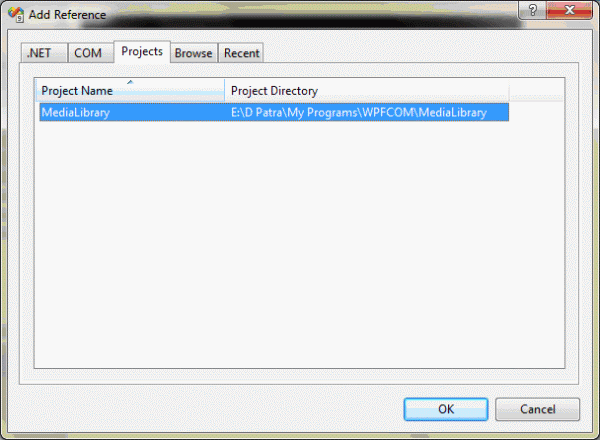
Now we need to have the project reference in the WPF Application project.
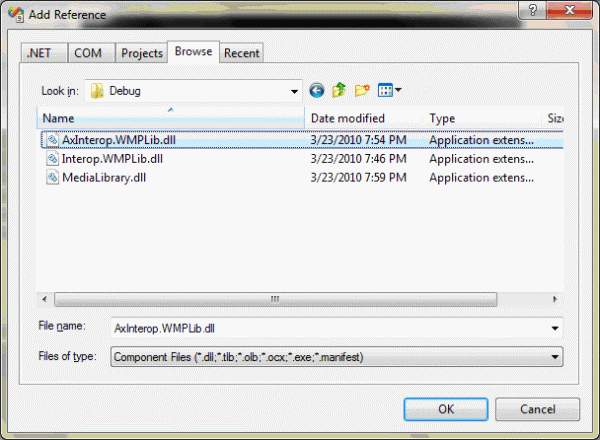
And most importantly the Browse through the output folder of the UserControl project, and the following DLL.
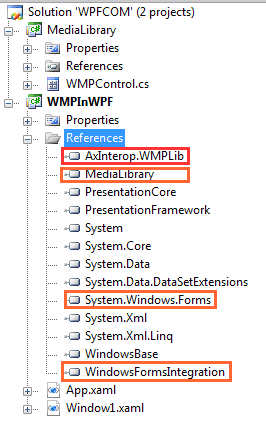
Now that you have added it, you need to add two more DLL's such as System.Windows.Forms and WindowsFormsIntegration. As displayed below:
Now that we have everything ready to proceed for the design, let's build the solution once again to check everything in place.
So solution was built successfully; now we will design our WPF Application. Let's do this in the following way:
We will have a Browse Button that will add a folder to the application and playable media files onto a ListBox. When ListBox item is selected the media will change and it should start playing.
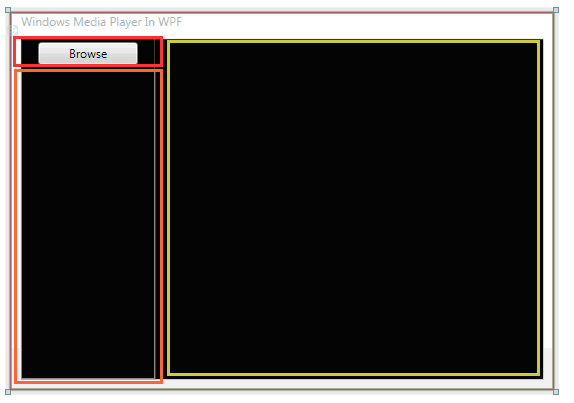
As you see in above figure we have successfully added a Button and a ListBox in the Leftside of the Window, Now as you can see above in Green Border we would place our UserControl.
But, before that we need refer some assemblies in the XAML so that the UserControl would be accessible in XAML. Let's do it.
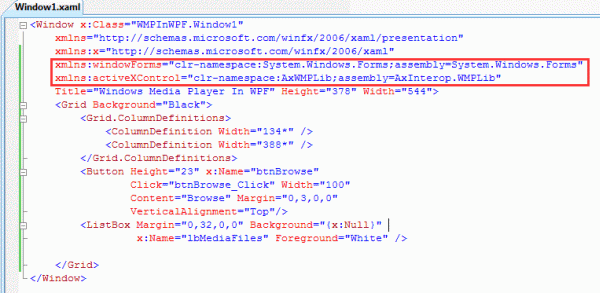
Now that we have the UserControl adde to the XAML we can proceed towards adding the control inside the Grid.
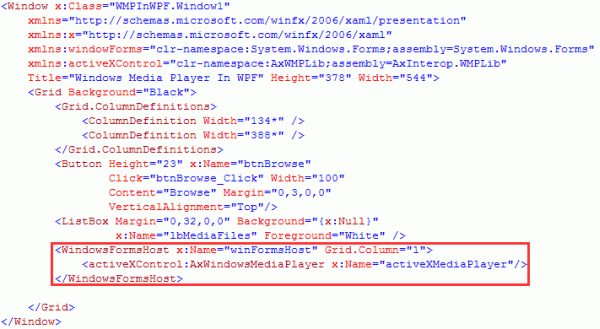
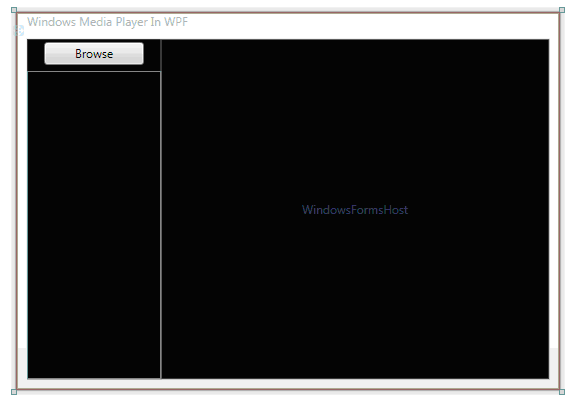
The design would look like the following:
Now let's do some coding for the SelectionChanged event of the ListBox and the Button Click of the Browse Button.
Add the following code for Browsing a folder and list the media files in the ListBox.
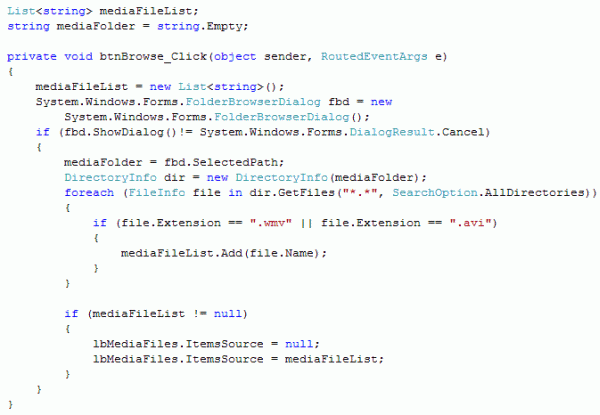
Now on SelectionChanged event handler of the ListBox we would open the media selected. Add the following code:

That's it. Let's run the application to have test ride.
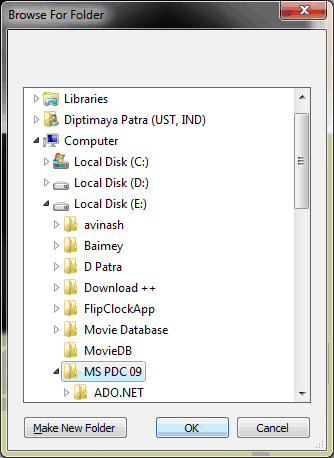
The above figure is the FolderBrowserDialog, opened when clicked for Browse.
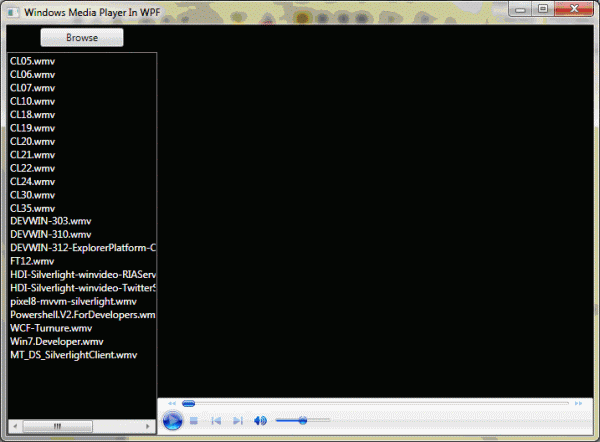
The media files are selected on the left hand side after Folder Path selection.

When the media item is selected from the ListBox, it would start playing.
Hope this article helps.