In this article you will learn how to use SlideShow WebPart to display images from a Picture Library.
Let's create a Picture Library first (Site Settings>More Options):
Create a Picture Library named "PicsForSlideShow".
Upload Pictures using Upload Menu.
The pictures used here are "Windows 7 Pictures" that can be found at: C:\Users\Public\Pictures\Sample Pictures Ok. Now that we have created our Picture Library. Let's go back to the Home Page. Edit the Page using Page Tab -> Edit Page Click Add a Web Part and there choose Category "Media and Content" and Choose "Picture Library Slideshow Web Part" Click Add. It is empty initially because we need to configure it first. Choose the Web Part: Then Choose Edit Web Part. A new Panel will open in the right corner showing us all the properties that can modified for this WebPart. Look at the "Picture Library" labelled Combobox; there you will see "PicsForSlideShow". So that's everything we need. We just need to Click Apply and then click OK. Then Click Stop Editing and see your Pictures in SlideShow: That's it. You've added SlideShow in your Sharepoint Portal successfully. Hope it helps!
Ok. Now that we have created our Picture Library.
Let's go back to the Home Page.
Edit the Page using Page Tab -> Edit Page
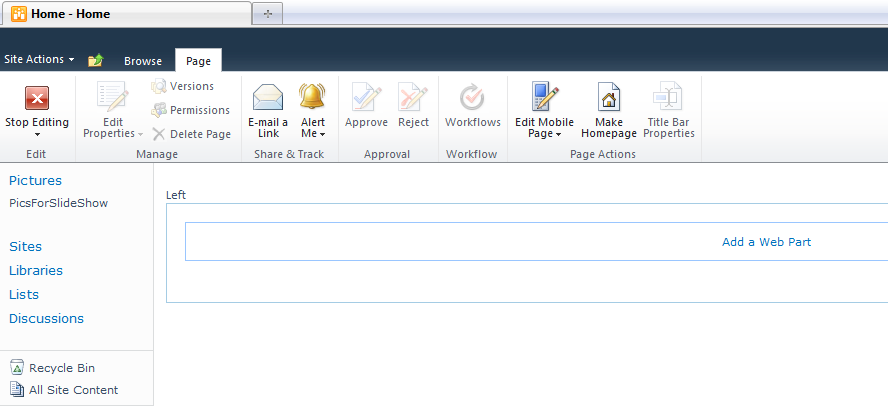
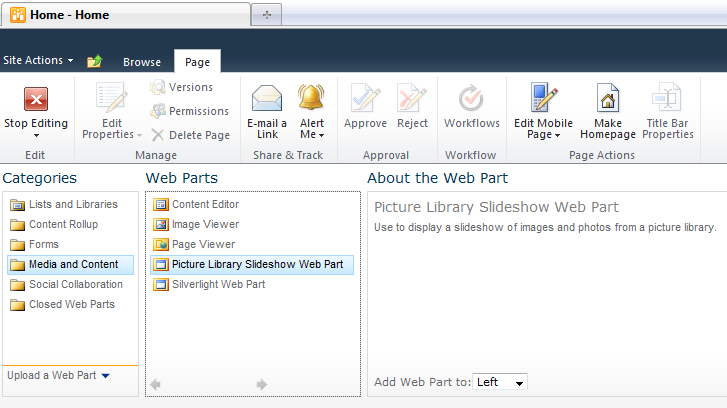
Click Add a Web Part and there choose Category "Media and Content" and Choose "Picture Library Slideshow Web Part"
Click Add. It is empty initially because we need to configure it first.
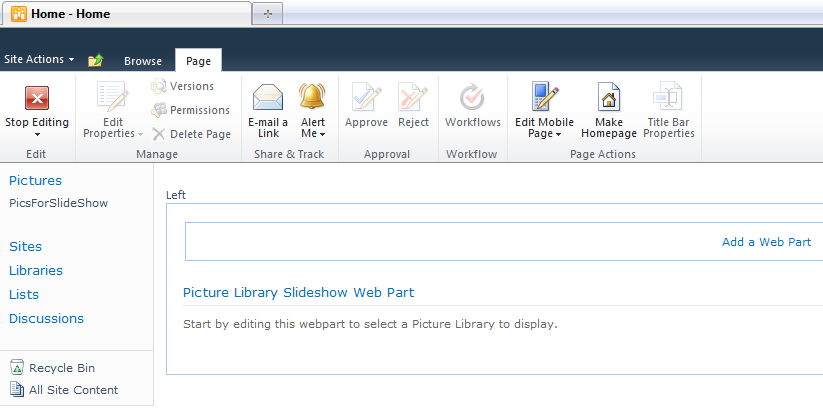
Choose the Web Part:
Then Choose Edit Web Part. A new Panel will open in the right corner showing us all the properties that can modified for this WebPart. Look at the "Picture Library" labelled Combobox; there you will see "PicsForSlideShow". So that's everything we need. We just need to Click Apply and then click OK. Then Click Stop Editing and see your Pictures in SlideShow: That's it. You've added SlideShow in your Sharepoint Portal successfully. Hope it helps!
A new Panel will open in the right corner showing us all the properties that can modified for this WebPart.
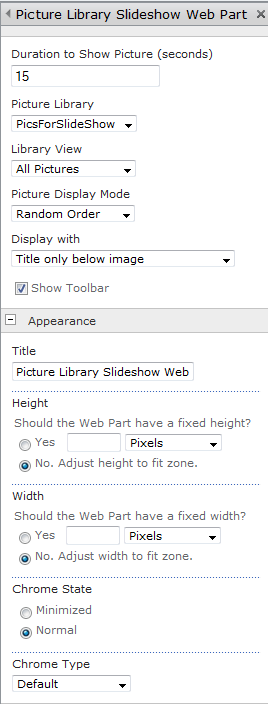
Look at the "Picture Library" labelled Combobox; there you will see "PicsForSlideShow". So that's everything we need. We just need to Click Apply and then click OK. Then Click Stop Editing and see your Pictures in SlideShow: That's it. You've added SlideShow in your Sharepoint Portal successfully. Hope it helps!
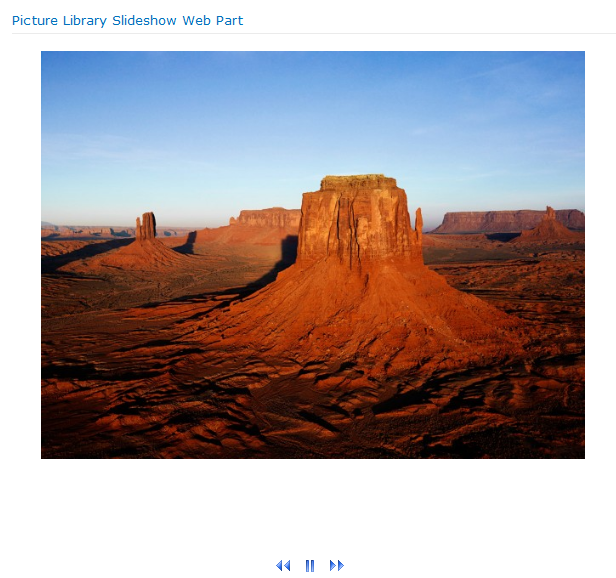
Then Click Stop Editing and see your Pictures in SlideShow:
That's it. You've added SlideShow in your Sharepoint Portal successfully. Hope it helps!
Hope it helps!
You need to be a premium member to use this feature. To access it, you'll have to upgrade your membership.
Become a sharper developer and jumpstart your career.
$0
$
. 00
monthly
For Basic members:
$20
For Premium members:
$45
For Elite members: