This tutorial shows you how to create and use a ProgressBar control available in Windows Presentation Foundation (WPF) and XAML.
Introduction
The ProgressBar tag in XAML represents a WPF ProgressBar control.
<ProgressBar></ProgressBar>
The Width and Height properties represent the width and the height of a ProgressBar. The Name property represents the name of the control, which is a unique identifier of a control. The Margin property tells the location of a ProgressBar on the parent control. The HorizontalAlignment and VerticalAlignment properties are used to set horizontal and vertical alignments.
The following code snippet sets the name, height, and width of a ListView control. The code also sets horizontal alignment to left and vertical alignment to top.
<ProgressBar Margin="10,10,0,13" Name="ListView1" HorizontalAlignment="Left" VerticalAlignment="Top" Width="300" Height="30" />
The progress bar looks like Figure 1.
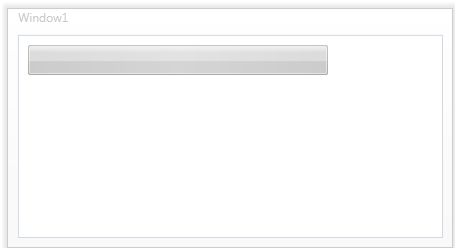
Figure 1.
Setting up ProgressBar Value
The Value property of ProgressBar sets up the current value of a ProgressBar control. In the following code, I set the Value property to 60 and now ProgressBar looks like Figure 2.
<ProgressBar Margin="10,10,0,13" Name="PBar" HorizontalAlignment="Left"
VerticalAlignment="Top" Width="300" Height="30" Value="60" >
</ProgressBar>

Figure 2.
Dynamically Setting a ProgressBar Value
We can use a Timer or animation to set a ProgressBar value dynamically. The following code creates a DoubleAnimation object and sets ProgressBar.Value by using the ProgressBar.BeginAnimation method.
private void Window_Loaded(object sender, RoutedEventArgs e)
{
Duration duration = new Duration(TimeSpan.FromSeconds(20));
DoubleAnimation doubleanimation = new DoubleAnimation(200.0, duration);
PBar.BeginAnimation(ProgressBar.ValueProperty, doubleanimation);
}
If you run the application, the ProgressBar run look like Figure 3.
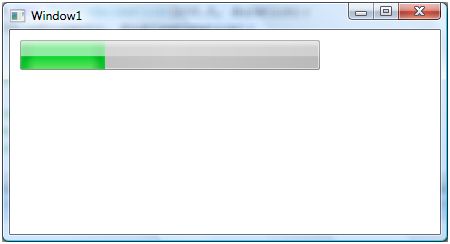
Figure 3.
Flow Direction
The FlowDirection property sets the flow of ProgressBar. You can set this value either LeftToRight or RightToLeft. The default value is LeftToRight.
FlowDirection="RightToLeft"
Adding a ProgressBar to a StatusBar
You probably saw several applications like Internet Explorer where you can see the status of a page load in the status bar at the bottom by using a ProgressBar looks like Figure 4.

Figure 4.
The following code adds a StatusBar to WPF using XAML.
<StatusBar Name="SBar" Grid.Column="0" Grid.Row="5" VerticalAlignment="Bottom" Background="LightBlue" >
<StatusBarItem>
<TextBlock>Status:</TextBlock>
</StatusBarItem>
</StatusBar>
The following code creates a ProgressBar dynamically and adds it to the StatusBar and sets the duration for changing the value of the ProgressBar.
private void CreateDynamicProgressBarControl()
{
ProgressBar PBar2 = new ProgressBar();
PBar2.IsIndeterminate = false;
PBar2.Orientation = Orientation.Horizontal;
PBar2.Width = 200;
PBar2.Height = 20;
Duration duration = new Duration(TimeSpan.FromSeconds(20));
DoubleAnimation doubleanimation = new DoubleAnimation(200.0, duration);
PBar2.BeginAnimation(ProgressBar.ValueProperty, doubleanimation);
SBar.Items.Add(PBar2);
}
Summary
In this article, I discussed how to create and use a ProgressBar control available in WPF.