In this article, we will show how to use a view box control and for what it is used. The view box control is a WPF control belongs to the System.Windows.Controls namespace. It is used to stretch and scale a given control. The view box could only have one child; else if a view box contains more than one child, an argument exception will be thrown. To see how to make use of this control, I provide this walkthrough.
Walkthrough:
1. First, create a new WPF application project
2. Add this XAML code to your application XAML code zone
|
<Window x:Class="myWpfApplication.Window1"
xmlns="http://schemas.microsoft.com/winfx/2006/xaml/presentation"
xmlns:x="http://schemas.microsoft.com/winfx/2006/xaml"
Title="Window1" Height="500" Width="500" Loaded="Window_Loaded">
<Grid>
<Grid.RowDefinitions>
<RowDefinition/>
<RowDefinition Height="10*"/>
</Grid.RowDefinitions>
<Grid>
<Grid.ColumnDefinitions>
<ColumnDefinition Width="5*"/>
<ColumnDefinition/>
</Grid.ColumnDefinitions>
<Label Grid.Column="0" FontWeight="bold">Browse to the image url</Label>
<Button Grid.Column="1" Click="Button_Click">Browse</Button>
</Grid>
<Viewbox Grid.Row="1" Name="viewbox1" MouseDown="viewbox1_MouseDown">
<Image Name="oImage"></Image>
</Viewbox>
</Grid>
</Window>
|
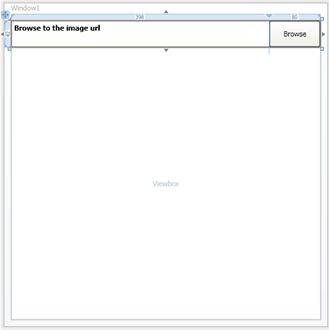
If you switch to the design code you will observe a window configuration as bellow:
|
 |
|
Figure1 |
3. Now, as an event handler is added to the viewbox1 element
|
<Viewbox Grid.Row="1" Name="viewbox1" MouseDown="viewbox1_MouseDown"> |
Switch to the C# code and you will find there a stub that looks like this
|
private void viewbox1_MouseDown(object sender, MouseButtonEventArgs e)
{
} |
4. Then implement it as follow
|
private void viewbox1_MouseDown(object sender, MouseButtonEventArgs e)
{
if (e.LeftButton == MouseButtonState.Pressed && viewbox1.Width<=500)
{
viewbox1.Height += 5;
viewbox1.Width += 5;
}
if (e.RightButton == MouseButtonState.Pressed && viewbox1.Width>=10)
{
viewbox1.Height -= 5;
viewbox1.Width -= 5;
}
} |
As you Remarque, this code is arranged so that if you click the viewbox1, the child element witch is an image in this case will be zoomed in. Else, if you right click the viewbox1 then the image will be zoomed out. In addition, there are limits for zooming in and out that one could change them according to its needs.
5. To get the image source, implement the button click event handler as follow:
|
private void Button_Click(object sender, RoutedEventArgs e)
{
System.Windows.Forms.OpenFileDialog oDlg = new System.Windows.Forms.OpenFileDialog();
oDlg.Filter = "(*.bmp)|*.bmp";
oDlg.ShowDialog();
BitmapImage bmp = new BitmapImage();
bmp.BeginInit();
bmp.UriSource = new Uri(oDlg.FileName);
bmp.EndInit();
oImage.Source = bmp;
} |
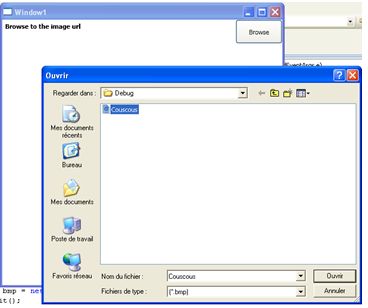
This code, will display an open dialog box that enables user to browse and select only bitmap format images. Once the open button is clicked, the image will be displayed in the window.
6. Finally, we define the default viewbox1 dimensions, when the window is first once opened and define the stretch mode whether it is Fill, none, UniformToFill. To do so, we implement the window load event handler as follow:
|
private void Window_Loaded(object sender, RoutedEventArgs e)
{
viewbox1.Stretch = Stretch.Fill;
viewbox1.Width = 20;
viewbox1.Height = 20;
} |
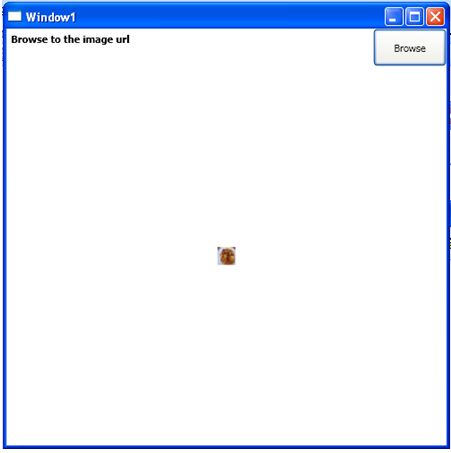
As you remark, we selected the stretch mode as Fill, but it is possible to play around by trying the different modes and observe what is happen.
7. Run the project and observe.
|
 |
|
Figure2 |
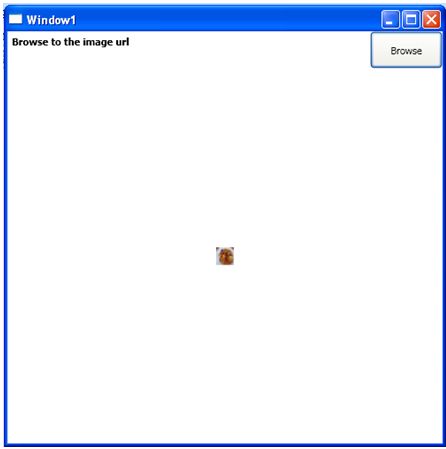
If the open button is clicked then, the image will appear
|
|
|
Figure3 |
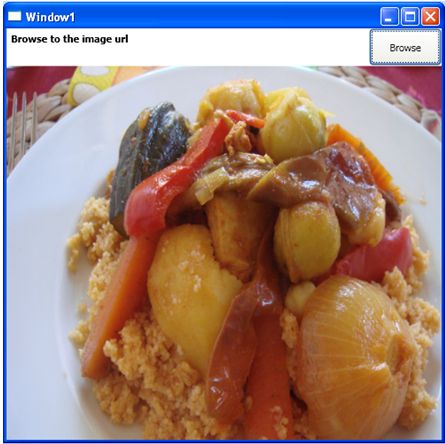
If you try to click on the image several times you obtain this result
|
|
|
Figure4 |
If you try to right click on the image several times you obtain this result:
|
 |
|
Figure5 |