The Data Adapter Configuration Wizard is a powerful tool to develop database application. To see how you can create data adapters using this wizard, you'll create a new Window Forms-based sample project.
In this first sample project, I'll show you how to create SQL data adapters, read data from a SQL Server data source, and display the data from a data adapter to a DataGrid control. Just follow the following simple steps in the next several sections. After completing these steps, you'll see how easy it is develop database applications using the Data Adapter Configuration Wizard.
Step 1: Selecting a Project Template
First create a Windows Application template as you did at the beginning of the article (see figure below).
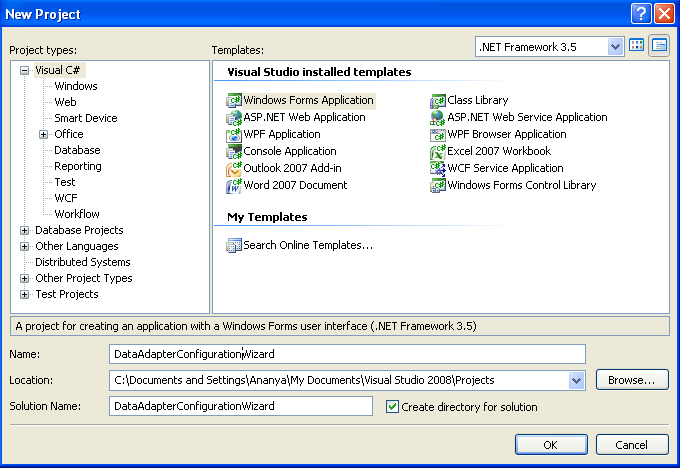
Figure: Creating a windows Application project
Step 2: Adding a Data Grid Control to the Form
Now add a DataGrid control to the form by dragging a DataGrid control from the Toolbox > Windows Forms category to the form.
Step 3: Adding a Data Adapter Component
Next, drag a sqlDataAdapter control from the Toolbox > Data category to the form. As you drop the data adapter (Sql, OleDb, or ODBC) the DataAdapter Configuration Wizard pops up.
Choose Your Data Connection Page
The second page of the wizard lets you create a new connection or pick from a list of available connections on your machine. In this example, I'm using the default Puran SQL server database that comes with visual studio. As you can see in figure below, the Puran connection is available in the list.
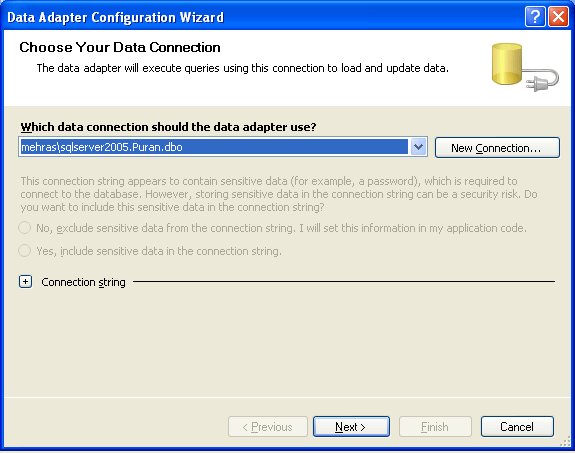
Figure: Choosing the SQL server database in the Data Adapter Configuration Wizard
Choose a Query Type
The next page of the wizard is for command set types. A command set could consist of a SQL statement or a new or already existing stored procedure (see figure).
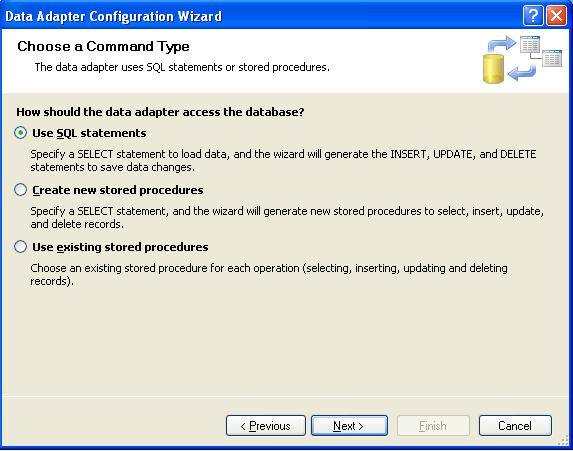
Figure: Choosing a query type in the Data Adapter Configuration Wizard
Generate the SQL Statement
The next page of the DataAdapter Configuration Wizard lets you build a SQL statement or stored procedure (see figure below).
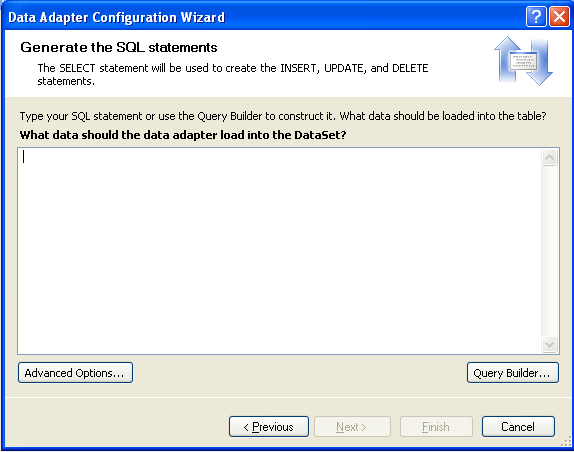
Figure: Creating a select statement through the Data Adapter Configuration Builder
Query Builder
The Query Builder option lets you pick tables from your data source. First select the Employees table to read in the Employee data. You actually have the option of selecting as many tables as you want, but for now select only one table (see figure below) and click the Add button.
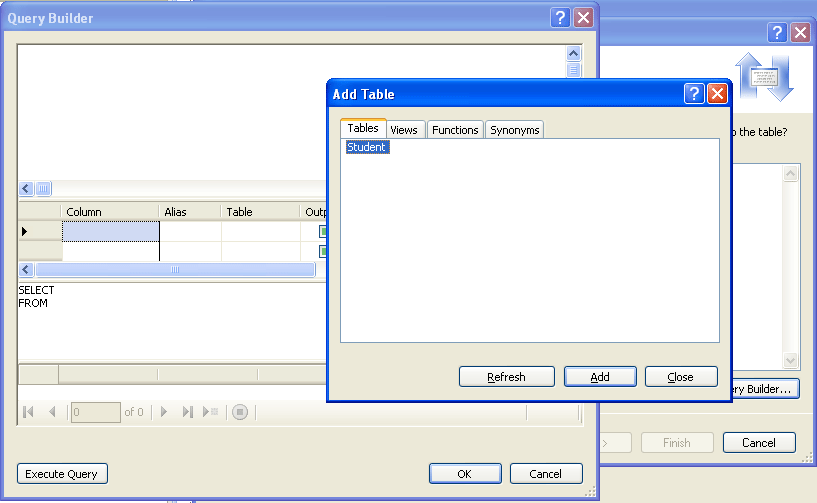
Figure: The Query Builder
If you've ever used Microsoft Access, you'll find that the Query Builder is similar to it. In Access, you can create queries by dragging tables and their columns to the grid (or checking the columns) and the Query Builds a SQL query for your action. In this sample, I'll select all columns form Student table to build our SQL statements (see figure below).
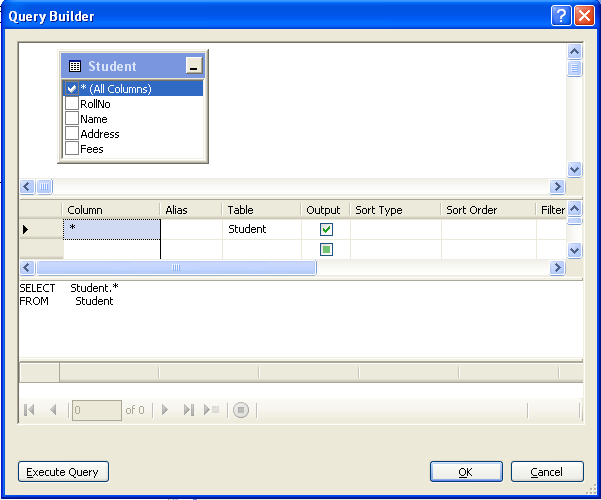
Figure: Building column in the query
Now, I'll select three columns from the Employees table. The result looks like figure below.
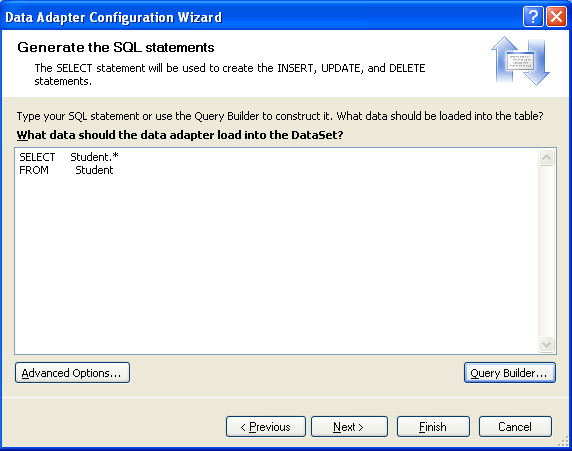
Figure: The Query Builder Selection
NOTE: You can even write your own SQL statement if you don't want to use the Query Builder. For performance reasons, if you only want a few columns, when use column names instead of using SELECT * statements.
Advance Options
The Advance Options shows Generate insert, Update and Delete statements, Use Optimistic Concurrency and Refresh the DataSet (see figure 4-26).
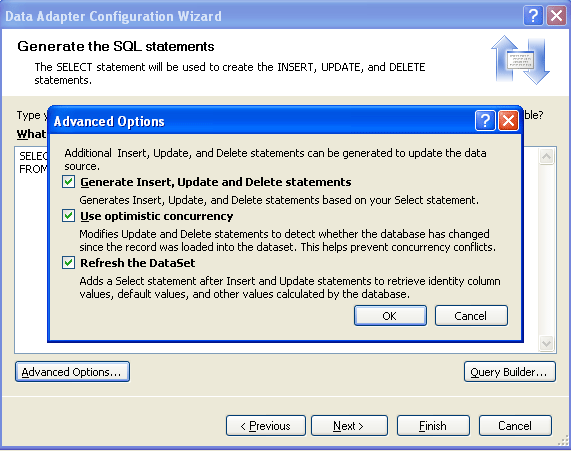
Figure: The Advance Options
Now you can click the finish button to complete the process. Now, if you examine the form in figure below, you'll see two components: sqlConnection1 and sqlDataAdapter1. The wizard sets the properties of these components for you. Now you can use the data adapter to populate your datasets. Don't forget to resize the Data Grid you added to the project.
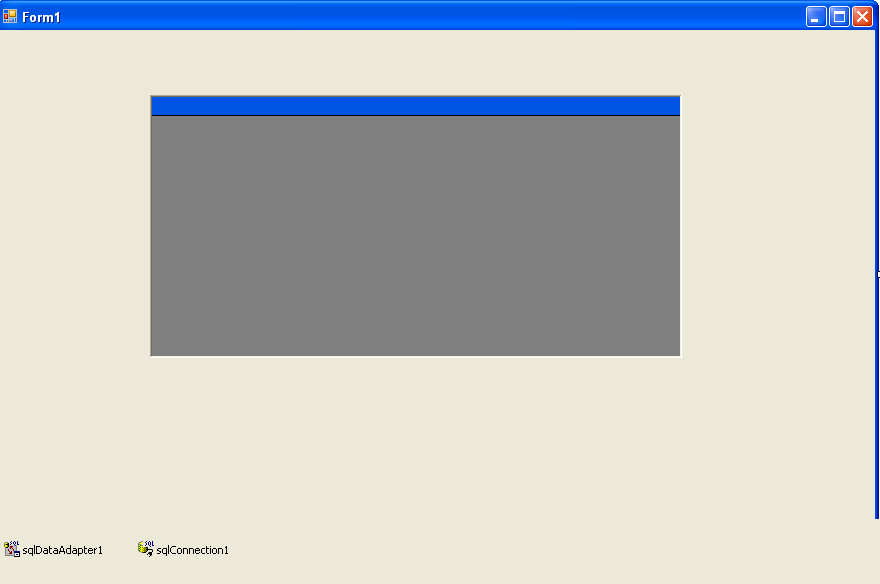
Figure: Sql connection and SqlDataAdapter shown in the form designer
Step4: Setting and Reviewing Data Adapter properties
OK, now that you have a DataAdapter on your form, let's take a look at the SqlDataAdapter component properties. You can see its properties by right- clicking on the adapter and selecting the Properties menu item. The properties window looks like figure below.
The wizard also shows the available command properties, including InsertCommand, DeleteCommand,SelectCommand, and UpdateCommand (see figure below).
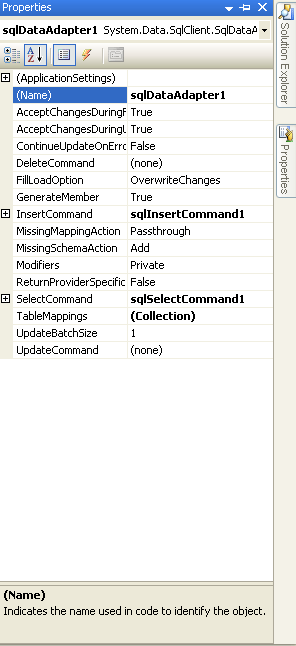
Figure: The data adapter in the properties window
You can set DataAdapter properties by clicking on these properties. SqlCommand and TableMapping, for example, are important properties. A data adapter has four SqlCommand properties – SelectCommand, DeleteCommand InsertCommand, and UpdateCommand – that all execute SQL commands on the data source. For example, if you look at the Select command property in figure below, you'll see the SQL select statement.
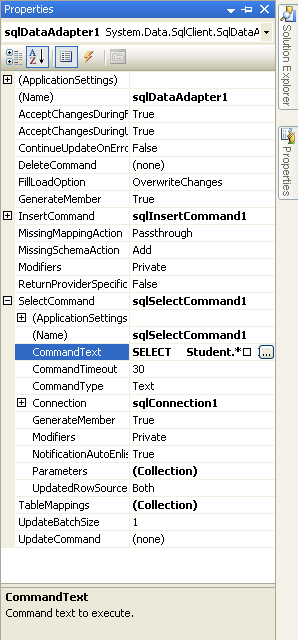
Figure: Setting the SQL select command in the data adapter
As you also see in figure below, you can set CommandText, CommandType, Connection, and so on using the properties dialog box. If you double-click on CommandText, it pops up the Query Builder where you can rebuild your query.
Figure: Relaunching the Query from the Command Text property
The TableMapping class represents mapping of DataColumns in the data source to DataColumns in the DataSet. If you click on the TableMappings property (which is a collection of TableMappingobjects), it brings up the Table Mappings dialog box.
As you can see from figure below, the table mapping dialog box has two columns: Source table and Dataset table. The source table column is a list of actual columns, and the Dataset table column is a list of the column names used in the dataset. By default, dataset columns names are the same as the source table. This is useful when you want to use different names in a program. You can change dataset columns by editing the column itself. Of course, you can't change source columns, but you can reorder them by using the column drop-down list.
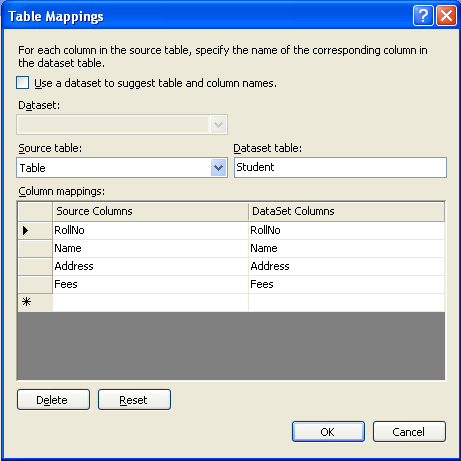
Figure: Table mappings dialog box
By using this dialog box, you can even delete columns from your mapping using the Delete button.
Step 5: Filling the Data Grid Control with Data
Until now, you didn't have to write a single line of code. Now through, you'll add a few lines of code and then you'll be all set to see the data from your data source. First, you'll create a method, FillDBGrid, which fills a DataSet object. Then you'll read data from a DataSet object and populate the DataGrid control.
The Fill method of SqlDataAdapter fills data from a data adapter to the DataSet. You call Fill method in FillDBGrid method. Once you have a Dataset containing data, you can do anything with it including creating views for that data. (I discussed multiple views if a DataSet object in the previous article.) In this example, you set a DataGrid control's DataSource property to the DataSet.DefaultViewManager, which binds the DataSet object to the DataGrid control (see listing 4-3).
Listing: FillDB Grid Method
protected void FillDBGrid()
{
DataSet ds = new DataSet();
sqlDataAdapter1.Fill(ds);
dataGrid1.DataSource = ds.DefaultViewManager;
}
Now you simple call FillDBGrid from the Form1 constructor or the Form_Load event or form a button_click handler. In this example I'll call it from the form constructor just after the InitializeComponent() call, as you can see in Listing below.
Listing: Calling the Fill DB Grid from the Form1 constructor
public Form1()
{
InitializeComponent();
FillDBGrid();
}
Now build and run the project. The result looks like figure below. Easy, huh?
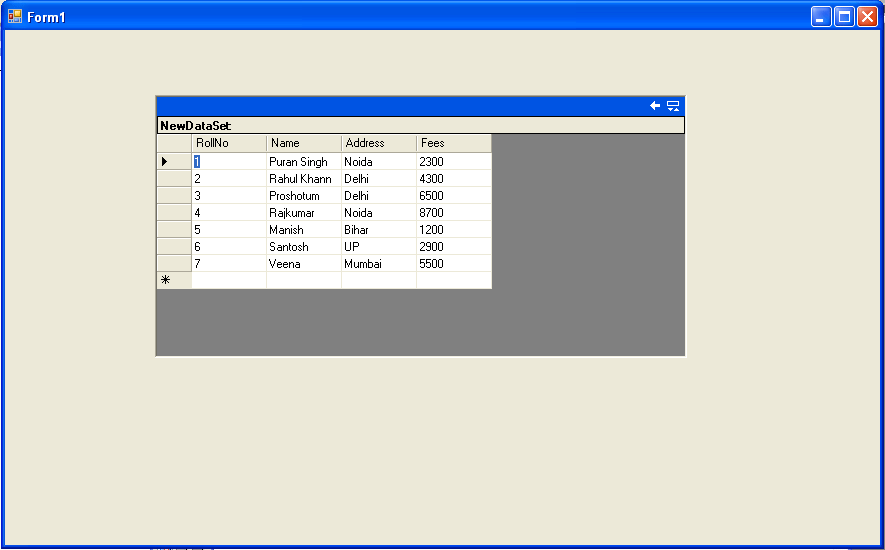
Figure: Output of the Employee data to a Data Grid control
Conclusion
Hope this article would have helped you in understanding Creating Data Adapters with the Data Adapter Configuration Wizard. See my other articles on the website on ADO.NET.