Silverlight lacks built-in support for reusable pages in its applications, and the task of navigation between them as WPF. A simple workaround this is in Application_Startup. Let do it step by step.
- Create a Silverlight application in visual studio 2008
- Change the Application_Startup as below
private static Grid root;
private void Application_Startup(object sender, StartupEventArgs e)
{
root = new Grid();
root.Children.Add(new Page());
this.RootVisual = root;
}
- Global resources can be defined in App.xaml that are available to all the pages in the application. To pass the values between pages use get/set properties in the App.xaml and then access these properties from the respective pages.
public string Name{get;set;}
- Add the following code to your App.xaml.cs to create a method that will manipulate the children of the Grid element at runtime.
public static void Navigate(UserControl newPage)
{
UserControl oldPage = root.Children[0] as UserControl;
root.Children.Add(newPage);
root.Children.Remove(oldPage);
}
- Add the following xaml to add TextBox and a Button control to Page.xaml.
<UserControl x:Class="SilverlightApplication2.Page"
xmlns="http://schemas.microsoft.com/winfx/2006/xaml/presentation"
xmlns:x="http://schemas.microsoft.com/winfx/2006/xaml"
Width="400" Height="300">
<Grid x:Name="LayoutRoot" Background="White">
<Grid.RowDefinitions>
<RowDefinition Height="40"/>
<RowDefinition Height="*"/>
</Grid.RowDefinitions>
<TextBox x:Name="TextBoxName" Grid.Row="0" Background="AliceBlue" Height="50"></TextBox>
<Button x:Name="Button1" Height="50" Grid.Row="1" Content="Go to Page2" Click="Button1_Click"/>
</Grid>
</UserControl>
- Add functionality to the click event of the button.
private void Button1_Click(object sender, RoutedEventArgs e)
{
App app = (App)Application.Current;
app.Name = TextBoxName.Text;
App.Navigate(new Page2());
}
- Add the following xaml to the Page2.
<UserControl x:Class="SilverlightApplication2.Page2"
xmlns="http://schemas.microsoft.com/winfx/2006/xaml/presentation"
xmlns:x="http://schemas.microsoft.com/winfx/2006/xaml"
Width="400" Height="300">
<Grid x:Name="LayoutRoot" Background="White">
<TextBlock x:Name="LabelDisplay" Text="Welcome"/>
<Button Height="50" x:Name="Button1" Click="Button1_Click" Content="Go to previous page"></Button>
</Grid>
</UserControl>
- Add the following code to Page2.xaml.cs
public partial class Page2 : UserControl
{
App app = null;
public Page2()
{
InitializeComponent();
app = (App)Application.Current;
LabelDisplay.Text = LabelDisplay.Text + " " + app.Name;
}
private void Button1_Click(object sender, RoutedEventArgs e)
{
App.Navigate(new Page());
}
}
That's all. You are done run the application and you can seee the result as below
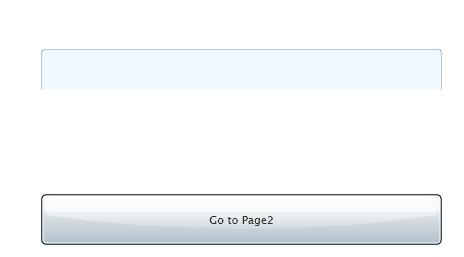
Type youe name in the textbox and press the button, and yes you are on Page2
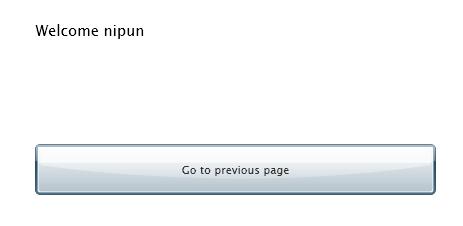
And now if you press the button, you will be back on first page.