HTML5 Canvas For Beginners : Part 4

Welcome back to my "HTML5 Canvas For Beginners" article series Part-IV. If you are new to HTML5 Canvas then I suggest you read my previous articles:
- HTML5 Canvas For Beginners - Part-1: Basic Drawings
- HTML5 Canvas For Beginners - Part-2: Curves & Shapes
- HTML5 Canvas For Beginners - Part-3: Gradients
In today's article we learn all about HTML5 Canvas Images.
HTML5 Canvas Images
In HTML5 Canvas, we can draw an image using the "drawImage()" method in which we need an image object and a destination point. As we know, the drawImage() method needs an image object, so we need to create an image and wait until it loads on the canvas. We can do this using the "onload" property of the image object.
Example:
<body>
<form id="form1" runat="server">
<div>
<canvas id="drawCanvas" width="600" height="500"></canvas>
<script>
var drawCanvas = document.getElementById('drawCanvas');
var ctx = drawCanvas.getContext('2d');
//Declare an image object
var imgObj = new Image();
imgObj.onload = function () {
ctx.drawImage(imgObj, 5, 80);
};
//Image source
imgObj.src = 'images/disney1.jpg';
</script>
</div>
</form>
</body>
Output:
Image Size
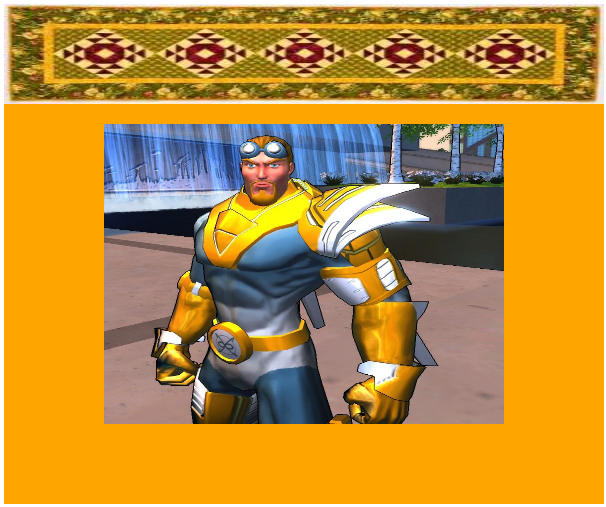
In HTML5 Canvas, we can set the size of an image by adding two more parameters in the "drawImage()" method, "width" and "height".
Example:
<body>
<form id="form1" runat="server">
<div>
<canvas id="drawCanvas" width="600" height="500"></canvas>
<script>
var drawCanvas = document.getElementById('drawCanvas');
var ctx = drawCanvas.getContext('2d');
var x = 100;
var y = 120;
var w = 400;
var h = 300;
var imgObj1 = new Image();
imgObj1.onload = function ()
{
ctx.drawImage(imgObj1, x, y, w, h);
}
imgObj1.src = 'images/Captain.jpg';
var imgObj2 = new Image();
imgObj2.onload = function () {
ctx.drawImage(imgObj2, 0, 0, 600, 100);
}
imgObj2.src = 'images/image.jpg';
</script>
</div>
</form>
</body>
Output:
Image - Crop
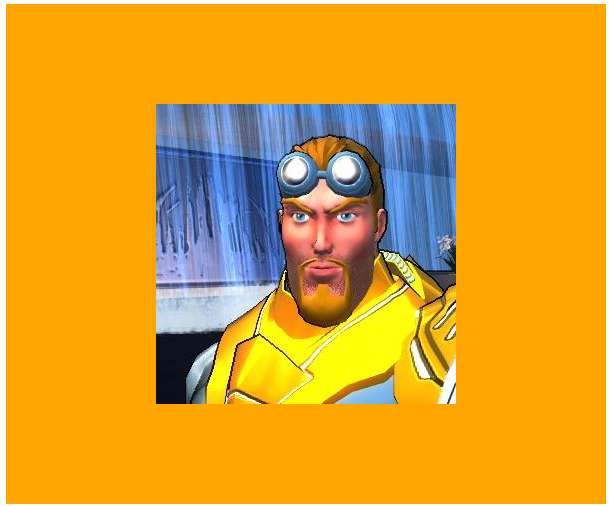
In HTML5 Canvas, we can crop an image by adding six more parameters to the drawImage() method which are as follows :
- sourceX
- sourceY
- sourceWidth
- sourceHeight
- destWidth
- destHeight
The parameters define the size and the location of the area that we need to cut out from an image.
Example:
<body>
<form id="form1" runat="server">
<div>
<canvas id="drawCanvas" width="600" height="500"></canvas>
<script>
var drawCanvas = document.getElementById('drawCanvas');
var ctx = drawCanvas.getContext('2d');
var imgObj = new Image();
imgObj.onload = function ()
{
var srcX = 150;
var srcY = 0;
var srcW = 300;
var srcH = 300;
var destW = srcW;
var destH = srcH;
var destX = drawCanvas.width / 2 - destW / 2;
var destY = drawCanvas.height / 2 - destH / 2;
ctx.drawImage(imgObj, srcX, srcY, srcW, srcH, destX, destY, destW, destH);
};
imgObj.src = 'images/Captain.jpg';
</script>
</div>
</form>
</body>
Output:
Pattern:
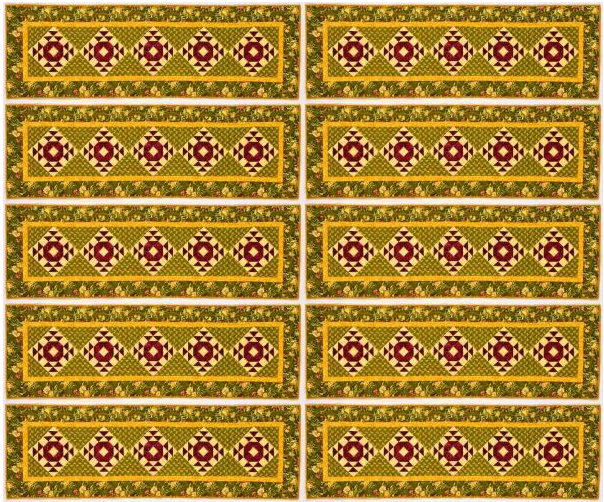
In HTML5 Canvas, the "createPattern()" method is creates various patterns. It returns a pattern object and sets the "fillStyle" property to the pattern object, and then the "fill()" method is used to fill the shape. This method requires a repeat parameter and also an image; repeat can be "repeat", "repeat-x", "repeat-y" or "no-repeat". By default it is set to "repeat".
Example
<body>
<form id="form1" runat="server">
<div>
<canvas id="drawCanvas" width="600" height="500"></canvas>
<script>
var drawCanvas = document.getElementById('drawCanvas');
var ctx = drawCanvas.getContext('2d');
var imgObj = new Image();
imgObj.onload = function ()
{
var pattern = ctx.createPattern(imgObj, 'repeat');
ctx.rect(0, 0, drawCanvas.width, drawCanvas.height);
ctx.fillStyle = pattern;
ctx.fill();
};
imgObj.src = 'image.jpg';
</script>
</div>
</form>
</body>
Output:


